

 by
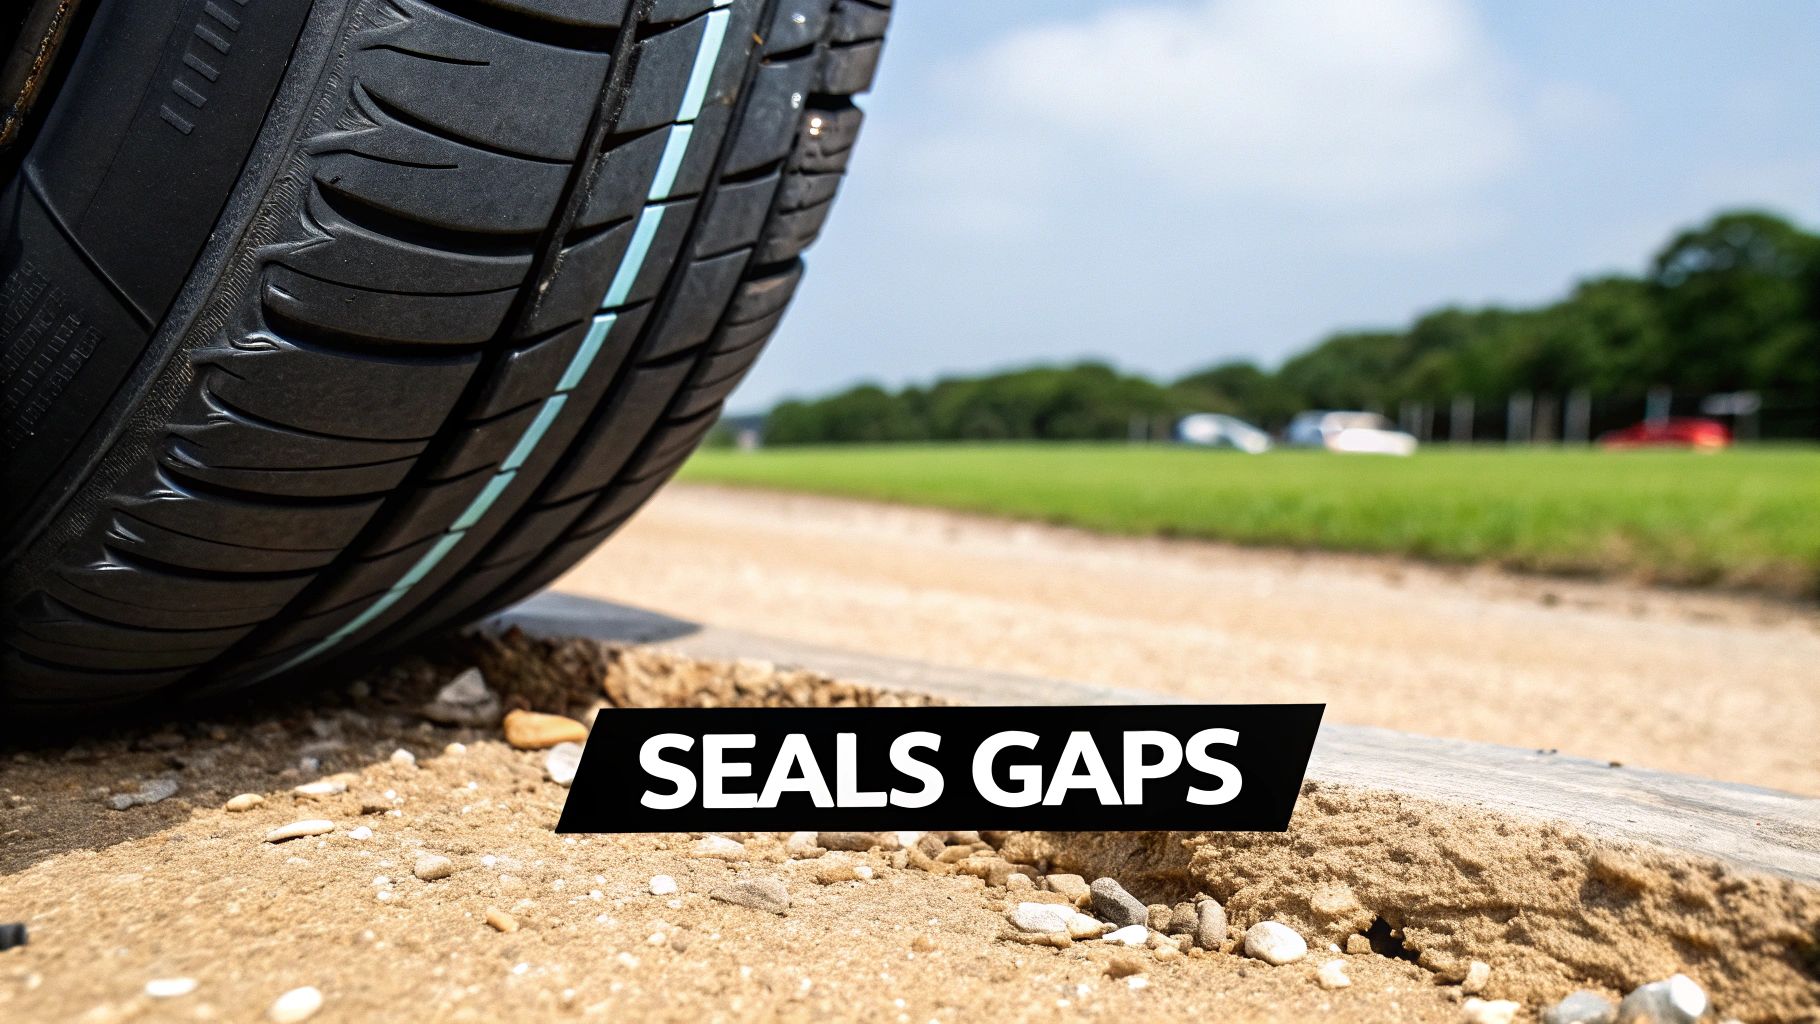
by For any taxi or towing fleet, downtime is more than just an inconvenience—it’s lost revenue. One of the most common, yet frustrating, culprits is a slow leak from the tyre bead. It’s the kind of problem that silently drains profits and puts driver safety at risk.
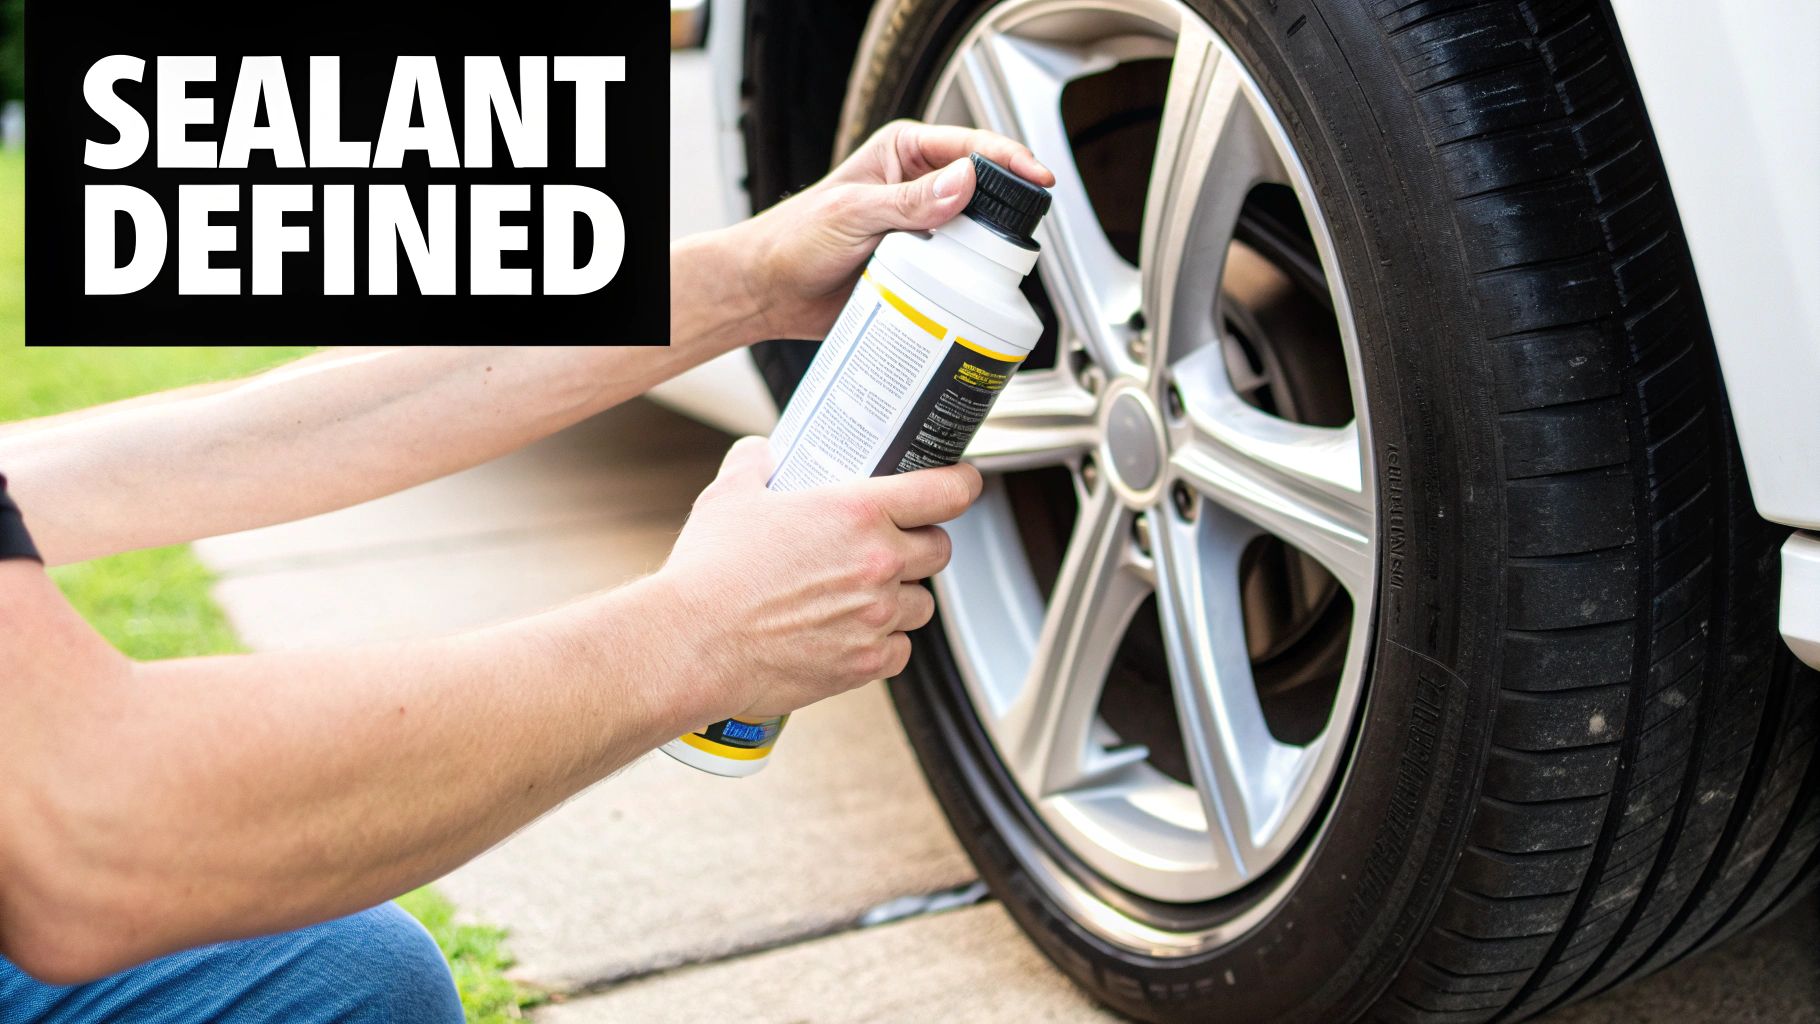
This guide delivers practical information for the taxi and towing industries, focusing on how a tyre bead sealant can be a critical tool in your maintenance arsenal. It’s a thick, purpose-built liquid applied directly to the tyre’s bead area during fitting, creating a perfect, long-lasting seal that stops minor air loss in its tracks.
How Bead Sealant Keeps Your Fleet Profitable and On the Road
In the high-stakes world of taxi and towing services, every minute a vehicle sits idle is a direct hit to your bottom line. While a dramatic blowout gets immediate attention, the real financial drain often comes from slow, chronic leaks. These aren’t big punctures; they’re tiny, almost invisible gaps right where the tyre meets the wheel rim—the bead.
A professional tyre bead sealant is a maintenance tool, not an emergency fix like a puncture spray that goes inside the tyre. Its job is to fill the microscopic gaps, corrosion pits, and minor imperfections that naturally form on older wheel rims or the tyre bead itself.
Why Small Leaks Cause Big Problems
For fleet managers, a seemingly minor bead leak can quickly turn into a major operational headache. Think of it as a domino effect:
- Constant Under-inflation: The slow but steady loss of air means your tyres are almost always running below their ideal pressure.
- Wasted Fuel: Under-inflated tyres create more drag, forcing the engine to work harder and burn more fuel. Across an entire fleet, this adds up fast.
- Premature Tyre Wear: Low pressure causes uneven wear on the tread, dramatically cutting short the life of your tyres and forcing you to buy replacements more often.
- Serious Safety Risks: An under-inflated tyre is far more likely to overheat and lead to a catastrophic failure on the road, endangering your drivers and the public.
It’s no surprise that the market for these sealants is growing. In the UK, the rising number of vehicles is expected to drive a compound annual growth rate (CAGR) of around 5% for tyre sealants through 2025. You can discover more about these tyre sealant market insights and see how the industry is tackling these widespread issues.
By getting ahead of bead leaks with a proper sealant, you’re not just fixing a tyre—you’re protecting your profit margins. This simple step stops the financial bleed from wasted fuel, early tyre replacements, and expensive roadside assistance calls. It keeps your vehicles moving, earning, and, most importantly, safe.
Not every slow leak is a bead leak. Before reaching for the sealant, it’s crucial to pinpoint the source of the problem. Some issues need a different fix altogether.
This quick table helps you identify what might be causing that persistent hiss and whether a bead sealant is the right tool for the job.
Common Tyre Leaks and Your Best Fix
| Leak Source | Primary Cause | Is Bead Sealant the Right Fix? |
|---|---|---|
| Tyre Bead | Corrosion on the wheel rim, aged rubber, or minor rim damage. | Yes. This is exactly what bead sealant is designed for. |
| Tread Puncture | A nail, screw, or other sharp object has pierced the main tread area. | No. This requires a proper puncture repair (a patch/plug). |
| Valve Stem | The rubber valve stem is cracked, old, or the valve core is loose. | No. The valve stem or core needs to be replaced. |
| Sidewall Damage | A cut, bulge, or impact damage to the side of the tyre. | No. This is a serious safety issue. The tyre must be replaced immediately. |
Remember, a bead sealant is a professional solution for a specific problem. Using it correctly saves you time and money, but misdiagnosing the leak can lead to bigger issues down the line. Always start by finding the true source of the air loss.
Understanding Why Tyre Beads Leak Air
To fix a problem for good, you first have to get to the root of it. That slow, nagging air leak can be a real headache for any driver. But for taxi and towing fleets, it’s a direct hit to your bottom line. These leaks often don’t come from a dramatic puncture, but from a much more subtle issue: the tyre bead.
Think of the tyre bead and the wheel rim like the seal on a jam jar. For it to be airtight, both surfaces need to be perfectly smooth and clean. But in the real world, especially for commercial vehicles clocking up thousands of miles on UK roads, that perfect connection is almost impossible to maintain.
Over time, a mix of factors starts to create microscopic gaps. These tiny imperfections are all it takes for air to find a way out, slowly but surely. The result is chronic under-inflation that takes vehicles off the road, ruins good tyres, and leads to expensive call-outs.
The Everyday Causes of Bead Leaks
Unlike picking up a nail, bead leaks are a gradual problem, caused by the slow breakdown of the sealing surfaces. They’re the hidden issue that professional drivers and fleet managers fight every day, often without realising what’s actually causing it.
The culprits are almost always linked to the condition of the wheel rim and the tyre itself.
- Minor Rim Corrosion: This is the number one offender. Constant exposure to road salt in winter, moisture, and even brake dust causes the metal of the wheel rim to corrode. This creates a rough, pitted surface where the bead can no longer sit flush, leaving tiny channels for air to escape.
- Trapped Debris: When a tyre is fitted, small bits of dirt, grit, or residue from the old tyre can easily get trapped between the bead and the rim. This debris acts like a wedge, stopping a perfect seal from ever forming.
- Aged and Hardened Rubber: As tyres get older, the rubber naturally loses its flexibility and becomes harder. A less pliable bead just can’t mould itself as tightly to the shape of the rim, making it far more likely to leak.
- Damage from Previous Fittings: Every time a tyre is mounted or taken off, there’s a risk of tiny, unseen damage. Small scuffs on the rim or little nicks in the tyre’s bead area can easily compromise the seal next time around.
Here’s something every fleet manager should know: bead leaks aren’t random. They’re a predictable result of normal wear and tear. A healthy tyre might lose 1-3 psi per month naturally, but a leaky bead can speed that up massively, making a tyre dangerously flat in just a few days.
Why This is More Than Just an Inconvenience
A slow leak from the bead isn’t just a hassle; it’s a major safety and financial problem. It’s not about the annoyance of topping up the air. It’s about the serious risks that follow. The constant low pressure puts a huge amount of strain on the tyre’s entire structure.
This leads directly to two massive problems for any commercial vehicle operation:
- Accelerated and Uneven Tyre Wear: Running under-inflated causes the tyre’s shoulders to wear down incredibly fast. This drastically shortens its lifespan and forces you into early, expensive replacements.
- Increased Risk of a Blowout: A tyre running on low pressure flexes too much, which generates a massive amount of heat. This heat buildup can cause the tyre’s internal structure to fail without warning—a catastrophic scenario on a busy road.
Understanding these root causes is the first step. A tyre bead sealant is designed specifically to fight these issues. It acts as a flexible, gap-filling gasket, creating the perfect, airtight seal that a corroded rim or old, hardened rubber can no longer manage on its own. It’s not just a quick fix; it’s preventative maintenance that keeps your fleet on the road, earning money safely.
Choosing the Right Sealant for Commercial Fleets
When your vehicles are your livelihood, you quickly learn that not all tyre products are made equal. This is especially true for tyre bead sealant. For busy taxi and towing fleets, picking the right sealant isn’t just about plugging a slow leak—it’s an investment in keeping your fleet on the road and out of the workshop.
That cheap, generic stuff on the shelf might look like a bargain, but it can create far more expensive problems down the line. To make a smart choice, you have to look past the price and focus on the properties that matter for heavy-duty, constant use. Commercial tyres go through hell, so they need a sealant built for the job.
Why Viscosity is Your Best Friend
One of the most important things to look for is viscosity—a fancy word for how thick the sealant is. In a professional setting, a thicker, higher-viscosity sealant is almost always the right call. Think of it like trying to patch a hole with honey versus water. The honey is going to stick around and do the job properly.
A thick, high-viscosity sealant grabs onto the rim and tyre bead, creating a tough, rubbery seal that fills in all the tiny imperfections and corrosion pits. This gives you a much more reliable fix that won’t give up under the constant flexing and pressure that commercial tyres face. Thinner, runny sealants just can’t create that solid barrier needed for a long-term solution.
Temperature Resilience and Wheel Safety
Your fleet operates in all weathers, from baking hot tarmac in July to icy roads in January. The sealant you choose has to cope with these temperature swings without failing.
- Temperature Resilience: Look for a product that is specifically designed to stay flexible in both extreme heat and cold. A cheap sealant can turn brittle and crack in freezing temperatures or become thin and useless when it gets hot, bringing that annoying bead leak right back.
- Wheel Compatibility: Your fleet probably runs on a mix of steel and alloy wheels. It’s vital to use a tyre bead sealant that is certified safe for both. Some aggressive formulas can react badly with alloy surfaces, causing stains or even making corrosion worse—the exact problem you were trying to fix.
A non-hardening formula is a must-have for any fleet manager. These sealants cure into a flexible seal but never go rock-solid. Why does that matter? It makes tyre changes much easier, saving your technicians time and preventing damage to the wheel rim.
When you’re running a professional fleet, choosing the right bead sealant isn’t just about fixing a leak; it’s about protecting your investment. To help, we’ve put together a quick checklist of what to look for.
Bead Sealant Feature Checklist for Fleet Managers
| Sealant Feature | Why It Matters for Your Fleet | What to Look For |
|---|---|---|
| High Viscosity (Thick) | Clings better to surfaces and fills deeper imperfections for a more durable, long-lasting seal that withstands daily stress. | A thick, honey-like consistency that doesn’t run easily. Avoid thin, watery formulas. |
| Non-Hardening Formula | Cures to a flexible, rubbery state, making future tyre removal easy and preventing damage to the wheel rim. | Product descriptions that mention “flexible cure,” “pliable,” or “non-hardening.” |
| Wide Temperature Range | Stays effective and won’t crack or melt, whether it’s freezing cold or boiling hot, preventing repeat leaks. | Look for specifications like “-40°C to 90°C” or wording like “all-weather performance.” |
| TPMS-Safe | Formulated to not clog or damage your Tyre Pressure Monitoring System sensors, avoiding costly replacements. | Clear labelling that explicitly states “TPMS-safe” or “sensor-safe.” If it’s not mentioned, assume it isn’t. |
| Non-Corrosive Formula | Contains rust inhibitors that protect the metal rim from further corrosion, extending wheel life and seal integrity. | Look for terms like “corrosion inhibitor,” “rust-preventative,” or “safe for all wheels.” |
| Alloy & Steel Safe | A neutral formula that won’t react with or stain different wheel materials, preserving the look and life of your alloys. | Check for clear confirmation that the product is safe for both steel and alloy wheels. |
This checklist covers the non-negotiables. Investing in a sealant that ticks these boxes means you’re not just patching a problem, you’re preventing future ones.
The Two Things You Can’t Ignore: TPMS Safety and Corrosion
In any modern commercial fleet, two features are absolutely critical: TPMS safety and non-corrosive properties. Skimping on these can lead to component failures that cost a lot more to fix than the original bead leak.
A TPMS-safe tyre bead sealant is designed so it won’t interfere with the delicate Tyre Pressure Monitoring System sensors inside the wheel. Use a non-compliant product, and you could be looking at false pressure readings or complete sensor failure—a fix that can cost over £50 per wheel.
Just as important is picking a non-corrosive formula. A good sealant should do more than just seal; it should protect. Look for one with rust inhibitors that help shield the wheel rim from future corrosion. This preventative quality extends the life of your wheels and makes the seal last longer—a key feature for any manager focused on keeping long-term costs down.
How to Apply Tyre Bead Sealant Correctly
Getting the application of tyre bead sealant right is the difference between a permanent fix and a job you’ll have to do all over again. Especially for professionals in the demanding taxi and towing industries, a first-time fix isn’t just a goal; it’s essential for safety and keeping vehicles on the road.
This isn’t about just slapping on some goop and hoping for the best. It’s a precise task that, when done right, creates an airtight seal tough enough for commercial use. Let’s walk through the workshop-ready process for a perfect application, every single time.
Step 1: Safety and Preparation First
Before you even think about touching the sealant, safety comes first. The most important step is to ensure the tyre is completely and utterly deflated. Seriously. Trying to break a bead on a tyre that still has air in it is incredibly dangerous and can cause severe injuries. Always pull the valve core out and let every last bit of air escape.
With the tyre fully deflated, you can now safely use your tyre machine to break the bead on both sides. This gives you clear access to the bead seating area on both the tyre and the wheel rim – and that’s where the magic happens.
Step 2: Meticulous Surface Cleaning
The success of your sealant job hinges almost entirely on how clean the surfaces are. You could have the best sealant in the world, but it won’t stick to dirt, corrosion, or old bits of rubber. The aim here is to get back to a perfectly clean foundation.
For a proper, professional job, don’t cut corners:
- Clean the Wheel Rim: Grab a wire brush or a proper bead cleaning tool and get scrubbing. You need to remove every speck of rust, old sealant, and grime from the bead seating area until you’re left with smooth, clean metal.
- Clean the Tyre Bead: The tyre’s own bead can collect hardened rubber and other gunk. Give it a good wipe with a clean cloth or a soft brush to make sure it’s free of any loose particles or dirt.
Rushing the cleaning stage is the most common mistake people make. Even a tiny piece of debris can create a microscopic channel for air to leak out, which defeats the whole point of the sealant. An extra minute spent cleaning now will save you hours of headaches later.
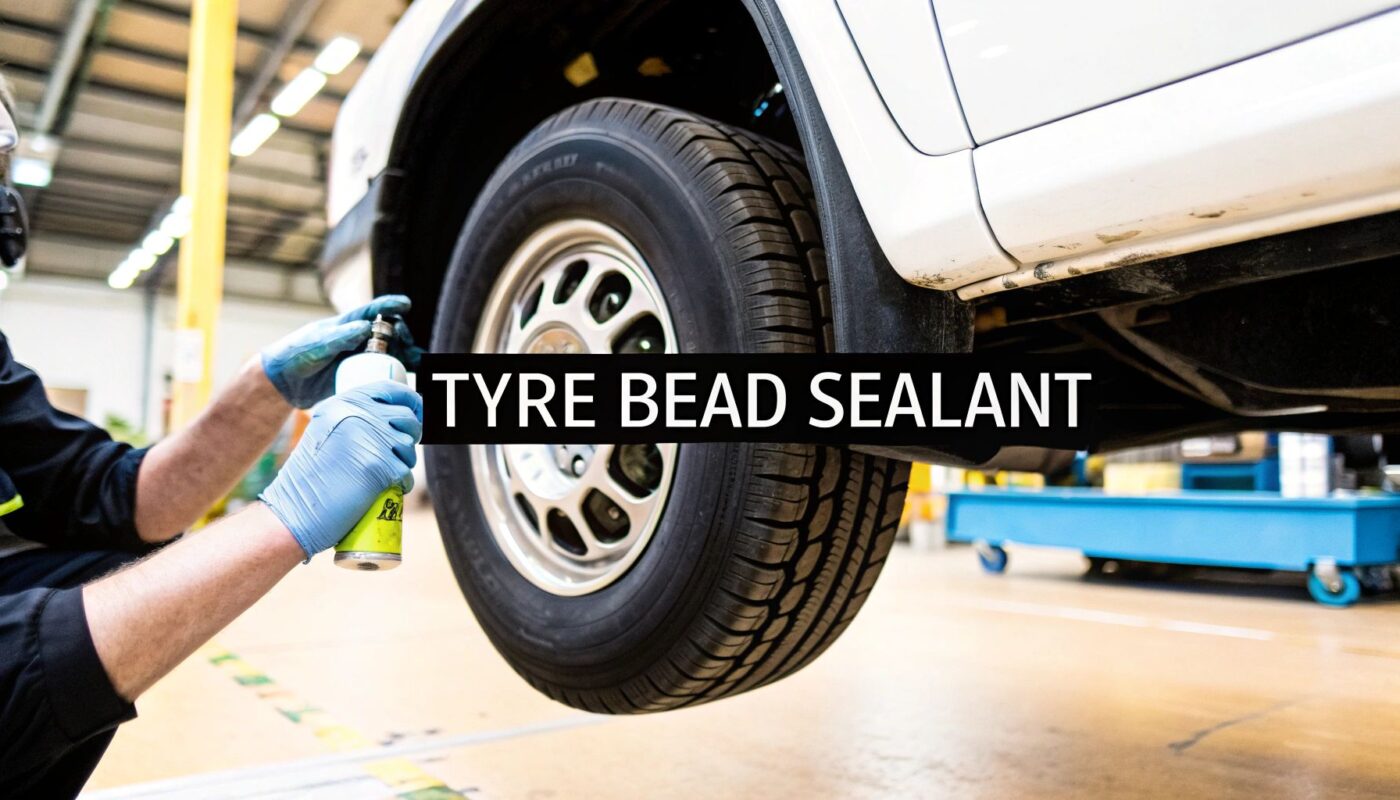
Step 3: Applying the Tyre Bead Sealant
Once the rim and tyre bead are clean and dry, it’s time for the sealant. Consistency is your goal here. You’re aiming for a thin, even layer that covers the entire contact surface without being caked on.
Using a small applicator brush, apply the tyre bead sealant directly onto the bead seating areas of the wheel rim. Go all the way around the circumference, making sure you don’t leave any gaps or dry patches. A solid industry tip is to apply a light coat to both the rim and the tyre bead itself to get the best possible grip.
This image shows you the simple but crucial flow of a good application.
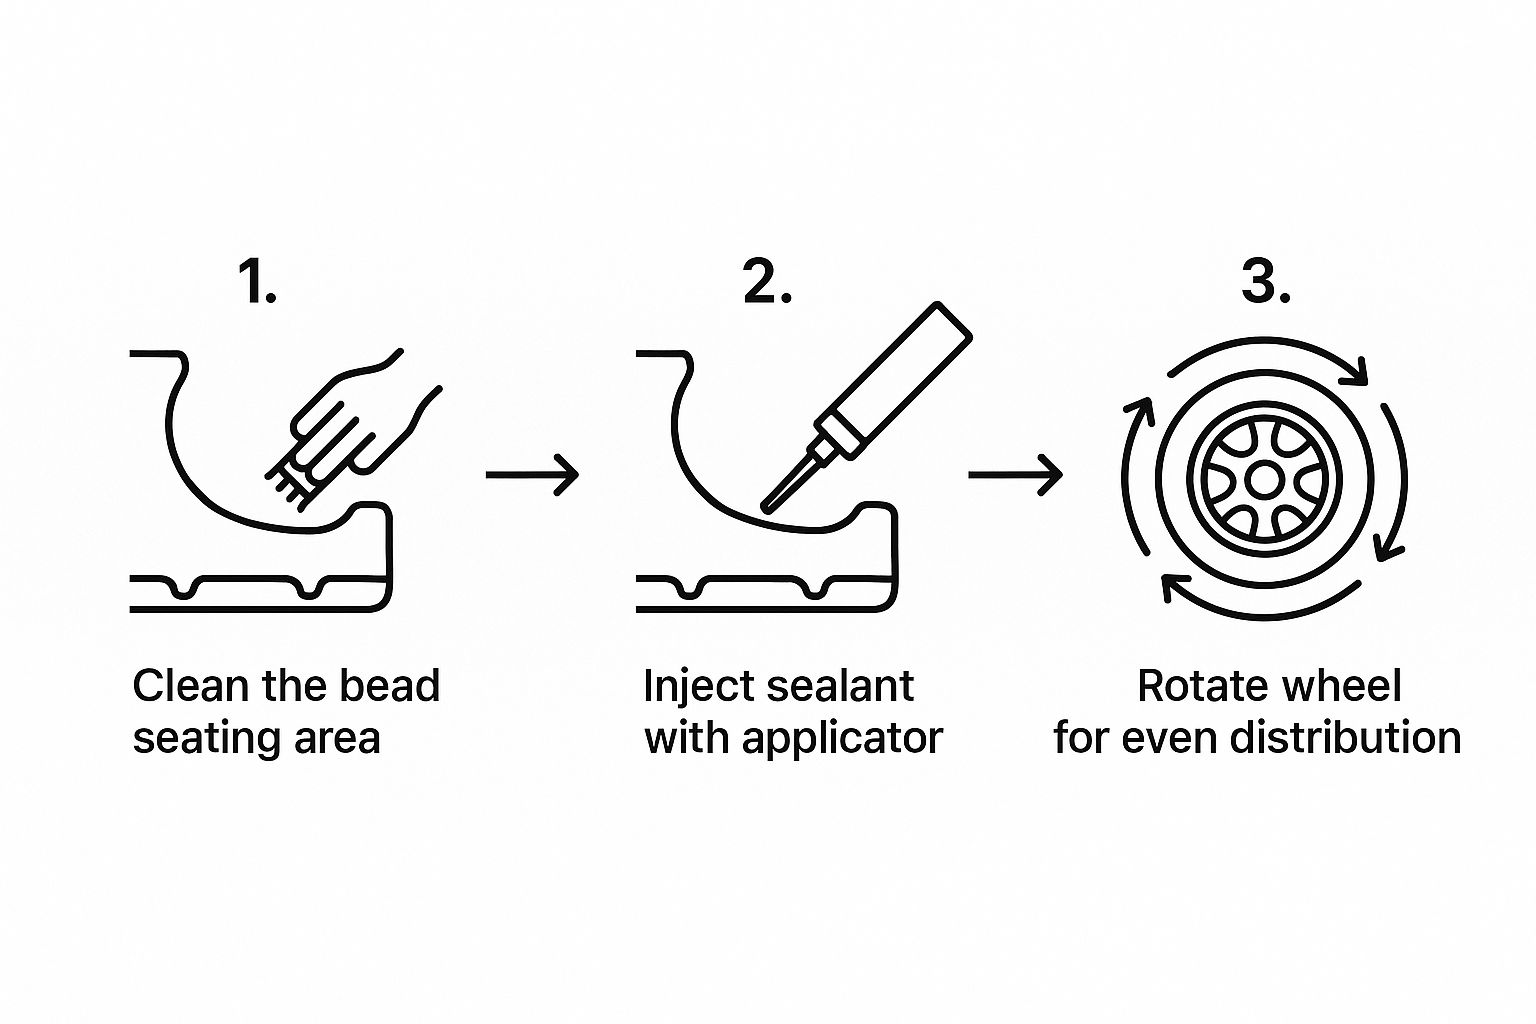
As you can see, it all starts with meticulous cleaning, followed by a careful application and proper re-inflation to lock that seal in place.
Step 4: Re-seating and Re-inflation
With the sealant applied, you can now carefully re-seat the tyre bead back onto the rim with your tyre machine. The fresh sealant will act as a lubricant, which helps the bead pop back into place nice and smoothly.
As soon as the bead is seated, put the valve core back in and start inflating. For commercial tyres, always use a tyre inflator with an accurate pressure gauge and a safety cage. As the pressure builds, it forces the sealant deep into any tiny imperfections, creating that final, lasting seal.
Inflate the tyre to the manufacturer’s recommended pressure. This isn’t just the last step; it’s a critical part of the process that ensures the sealant cures properly under the correct amount of compression. Once it’s up to pressure, double-check for leaks with a bit of soapy water around the bead and valve stem to confirm you’ve nailed it.
While these steps are straightforward in a workshop, bigger issues or roadside problems often need an expert. If you find yourself in a bind, our guide on finding a reliable mobile tyre service in the UK can connect you with vetted technicians who come right to you.
Troubleshooting Common Bead Sealant Problems

Even with a perfect application, things can sometimes go wrong. For busy taxi and towing fleets, any fix needs to be solid and reliable first time. When a tyre bead sealant job fails, it’s not just frustrating—it costs you time and money.
Figuring out why it failed is the first step to putting it right. This section is your guide to diagnosing and fixing the most common issues, turning a potential headache into a successful, long-lasting repair.
Problem 1: The Tyre is Still Leaking Air
This is easily the most common and infuriating problem. You’ve done the work, but a few days later, that tyre pressure warning is back on. Before you blame the sealant itself, it’s time to play detective, because the root cause is almost always in the prep work.
- Most Likely Cause: The number one reason for a slow, persistent leak is improper surface preparation. Even the smallest bit of rust, dirt, or old rubber left on the wheel rim creates a tiny channel for air to sneak out. The sealant just can’t form a perfect bond on a dirty surface.
- The Solution: There are no shortcuts here, unfortunately. The tyre has to be broken from the bead again. This time, be meticulous. Use a wire brush or a proper bead cleaning tool to get the rim’s bead seating area completely smooth and down to clean, bare metal before you reapply the sealant.
Problem 2: The Sealant Created a Mess
A good quality bead sealant is thick and tacky by design—that’s what makes it work. But that same quality can make it a nightmare if it gets everywhere. If your work area looks like a sticky mess, it’s a sure sign you’ve used too much.
It’s a common myth that piling on more sealant will create a better seal. In reality, a thin, even layer is far more effective. Too much product is just a waste and can actually stop the tyre from seating properly on the rim.
The fix is simple: use less next time. Aim for a smooth, consistent coat applied with a brush, making sure to cover the entire bead seating area without any thick blobs or drips.
The demand for better sealants is on the rise. Valued at USD 52.9 million in 2024, the global tyre sealant market is expected to hit USD 77.3 million by 2032. This is driven by new tech that improves sealing performance, a trend that could boost sealant use in the UK by over 30% by 2030. You can read the full research about the tyre sealant market to get a better handle on these industry shifts.
You can see this link for Reliable Towing Service in London article here or the here is the link for Your Guide to Using a Jump Start Battery Pack.
Problem 3: The Tyre is Difficult to Remove Later
A huge concern for fleet maintenance is making sure a sealed tyre isn’t impossible to remove when it’s time for a change. If a technician is fighting to break the bead, the wrong kind of sealant was almost certainly used.
- Most Likely Cause: You’ve probably used a hardening sealant. Some cheaper or all-purpose products are designed to cure rock-solid, essentially gluing the tyre to the rim. This makes the next tyre change a massive struggle and can even damage the wheel or the tyre itself.
- The Solution: Always stick to a professional-grade, non-hardening tyre bead sealant. These formulas are made to cure into a flexible, rubbery consistency. They give you that airtight seal but stay pliable, letting the bead break away with normal effort when it’s time for new rubber.
Getting these diagnoses right is a core part of good vehicle maintenance. For a wider look at what to keep an eye on, take a look at our guide on the spring car checks every driver should do.
Connecting Fleets with Professional Tyre Services
While knowing how to apply tyre bead sealant is a brilliant skill to have in any workshop, there are times when you just need professional support, fast. For taxi and towing fleets, every second counts. A stubborn leak that won’t quit needs an expert hand to prevent costly vehicle downtime.
This is exactly where the Crisfix App steps in. Think of it as your fleet’s active partner, bridging the gap between a problem and its solution.
Immediate Access to Vetted Professionals
Picture this: one of your drivers is stranded with a persistent bead leak they can’t fix on their own. Or worse, they’re dealing with a more serious tyre issue that needs immediate attention. Instead of them wasting precious minutes scrolling through search results for a reliable local garage, the Crisfix App instantly connects them to a network of vetted professionals.
In just a few moments, you can book a qualified technician for:
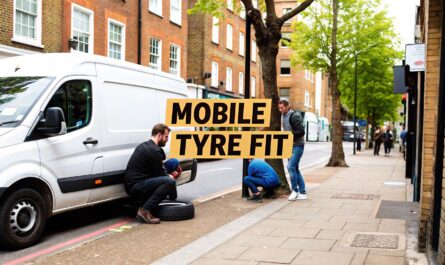
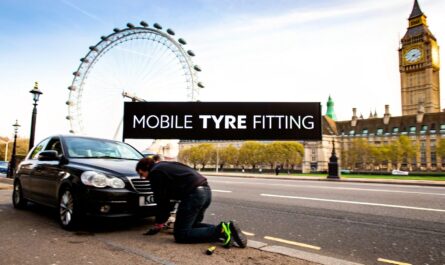
- Mobile Tyre Fitting: Experts come directly to your vehicle, whether it’s parked at the depot or stuck on the roadside.
- Complex Leak Diagnosis: If a bead sealant fix doesn’t work, a pro can quickly spot the real culprit, like a cracked rim or hidden tyre damage.
- Emergency Roadside Assistance: For any tyre-related emergency, help is just a few taps away, keeping your drivers safe and minimising disruption to your service.
The real win for fleets is turning unplanned downtime into a managed, efficient process. Crisfix cuts out the guesswork and connects you straight to reliable help, getting every vehicle back on the road faster.
This direct connection is vital for keeping your operations flowing smoothly. In an industry where every minute off the road is lost revenue, having a direct line to pre-approved experts is a massive advantage. It makes the Crisfix App more than just a source of information; it becomes a core part of your vehicle maintenance strategy.
By building the app into your daily operations, you give your drivers and managers a powerful tool right in their pocket. Learn more about the dedicated professional tyre services available through the Crisfix network and see how it can support your fleet’s specific needs.
Common Questions About Tyre Bead Sealant
When you’re in the business of keeping vehicles on the road, whether it’s a taxi fleet or a crew of tow trucks, you run into the same practical questions time and time again. Even with something as specific as tyre bead sealant, there are a few myths that need busting.
Let’s clear up those final, nagging questions with some straight answers.
Can I Just Use Bead Sealant to Fix a Puncture?
Absolutely not. This is probably the most important thing to get right.
A tyre bead sealant is designed for one job only: to create an airtight seal where the tyre meets the wheel rim. It’s a thick, gooey substance that gets painted onto the bead area before the tyre is inflated. A puncture repair product, on the other hand, is a liquid that gets injected inside the tyre to plug a hole in the tread.
Trying to use bead sealant for a puncture won’t work, and it’ll just make a proper repair much harder later on.
Is Bead Sealant Safe for My Alloy Wheels?
For the most part, yes. Any professional-grade bead sealant worth its salt is made to be safe for both steel and shiny alloy wheels. But—and this is a big but—you have to check the label.
Some cheaper, generic sealants can contain nasty chemicals that might corrode or stain a delicate alloy finish over time.
Whether you’re running a fleet of taxis on alloys or tow trucks on heavy-duty steelies, always grab a sealant that’s clearly marked as non-corrosive and safe for all wheel types. It’s a small check that can save you from costly wheel damage down the line.
How Long Will a Bead Sealant Fix Actually Last?
If it’s applied correctly to a clean surface, a good quality tyre bead sealant should last the entire life of the tyre. It’s designed to stay flexible, not harden or crack, so it can handle the constant pressure, heat, and movement of a commercial vehicle.
The only times a bead seal is likely to fail are if:
- The surface wasn’t cleaned properly, leaving rust or old rubber behind.
- The wheel rim gets damaged again—like from a good smack against a kerb.
- The wrong type of sealant was used (e.g., one that hardens).
Will Bead Sealant Throw Off My Wheel Balancing?
Nope, it shouldn’t make any difference at all.
Unlike tyre slime that sloshes around inside the tyre, bead sealant is applied as a thin, even coat just to the bead seating area. The amount you use is tiny, and its weight is spread so evenly around the rim that it’s completely negligible. It won’t cause the kind of imbalance that leads to steering wheel vibrations, making it a perfectly safe fix for high-mileage taxis and tow trucks.
You can see this link for Reliable Towing Service in London article here or the here is the link for Your Guide to Using a Jump Start Battery Pack.
When a simple fix isn’t cutting it, or you need professional help on the spot, the Crisfix App is your fleet’s go-to support tool. Instantly connect with vetted mobile mechanics and tyre fitters to solve any issue, from stubborn leaks to emergency roadside situations, all from a single app. Get your vehicles back on the road faster by downloading the Crisfix App today.
Article created using Outrank