


 by
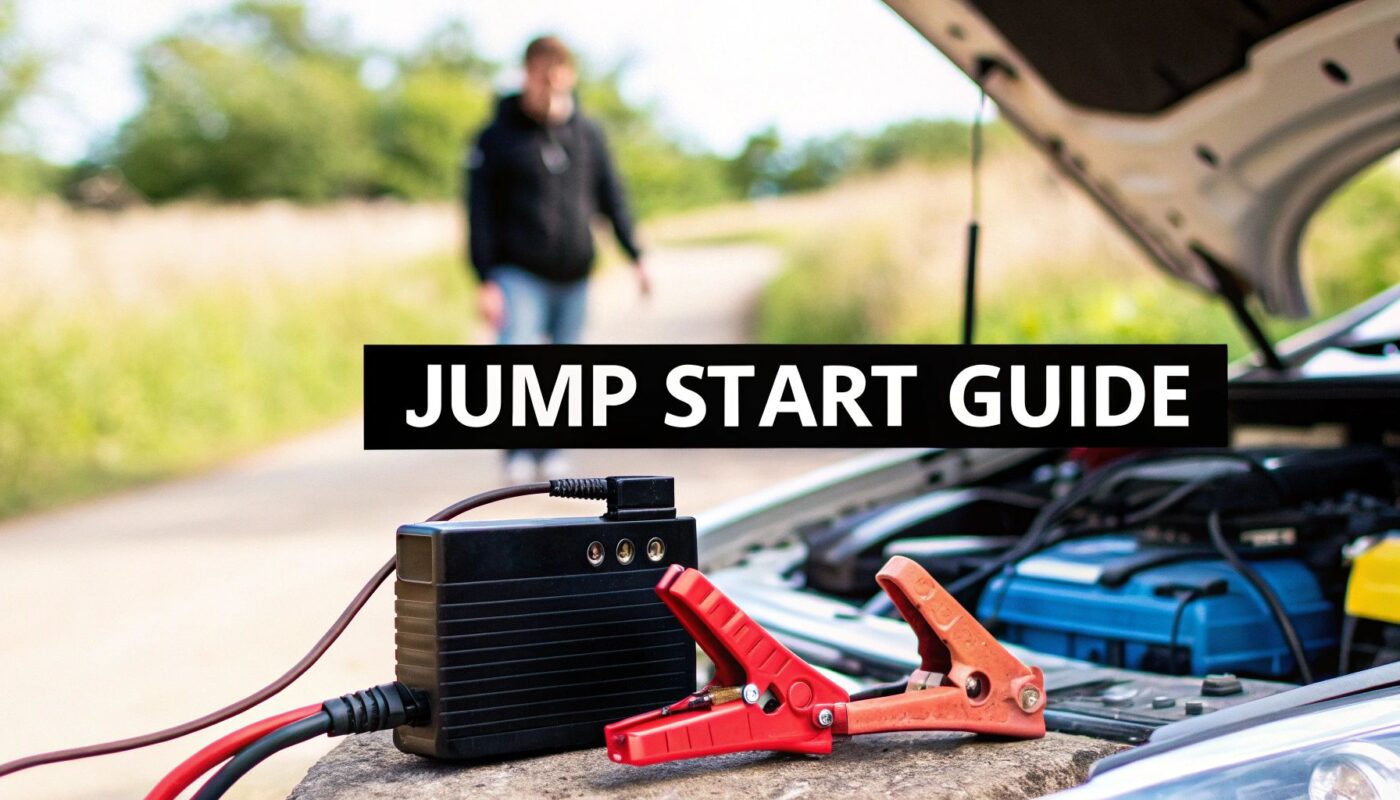
by A dead car battery doesn’t just stop your car; it stops your day. That sinking feeling when you turn the key and get nothing but a click is something every driver dreads. For a taxi driver, it means a lost fare. For a towing operator, it means a delayed job.
A modern jump start battery pack is the fastest, safest way to bring a flat battery back to life, and it’s a tool every professional driver should have. It gives you the power to sort the problem yourself, without needing a second vehicle.
Your Essential Tool for Roadside Confidence
That dreaded click-click-click from the engine bay can ruin a morning commute, delay a crucial delivery, or leave a taxi driver without a fare. Whether you’re a private motorist or a professional who relies on your vehicle for your livelihood, a non-starter isn’t just an inconvenience—it’s lost time and money.
Portable jump starters have completely changed the game for UK drivers. These compact, powerful devices have made traditional jump leads almost obsolete. Why? They remove the two biggest headaches: finding another car and worrying about connecting the cables correctly between two live electrical systems.
The Power of Self-Sufficiency
With a portable jump starter in your boot, you become your own roadside assistance. Instead of waiting around for help, you can have your car running again in a matter of minutes. This is a game-changer for anyone, but especially for professionals in the taxi and towing industries where every second counts.
Keeping a charged jump starter in your vehicle is a critical piece of professional equipment. It turns a potential day-ruining drama into a minor, five-minute fix.
This shift towards being self-reliant is backed by hard numbers. In the UK, breakdown services report that battery issues are behind up to 15% of all call-outs. It’s a stark reminder of how a simple, affordable tool can prevent so much hassle and keep drivers moving safely. The global market for these devices is growing fast, which you can see in recent industry research.
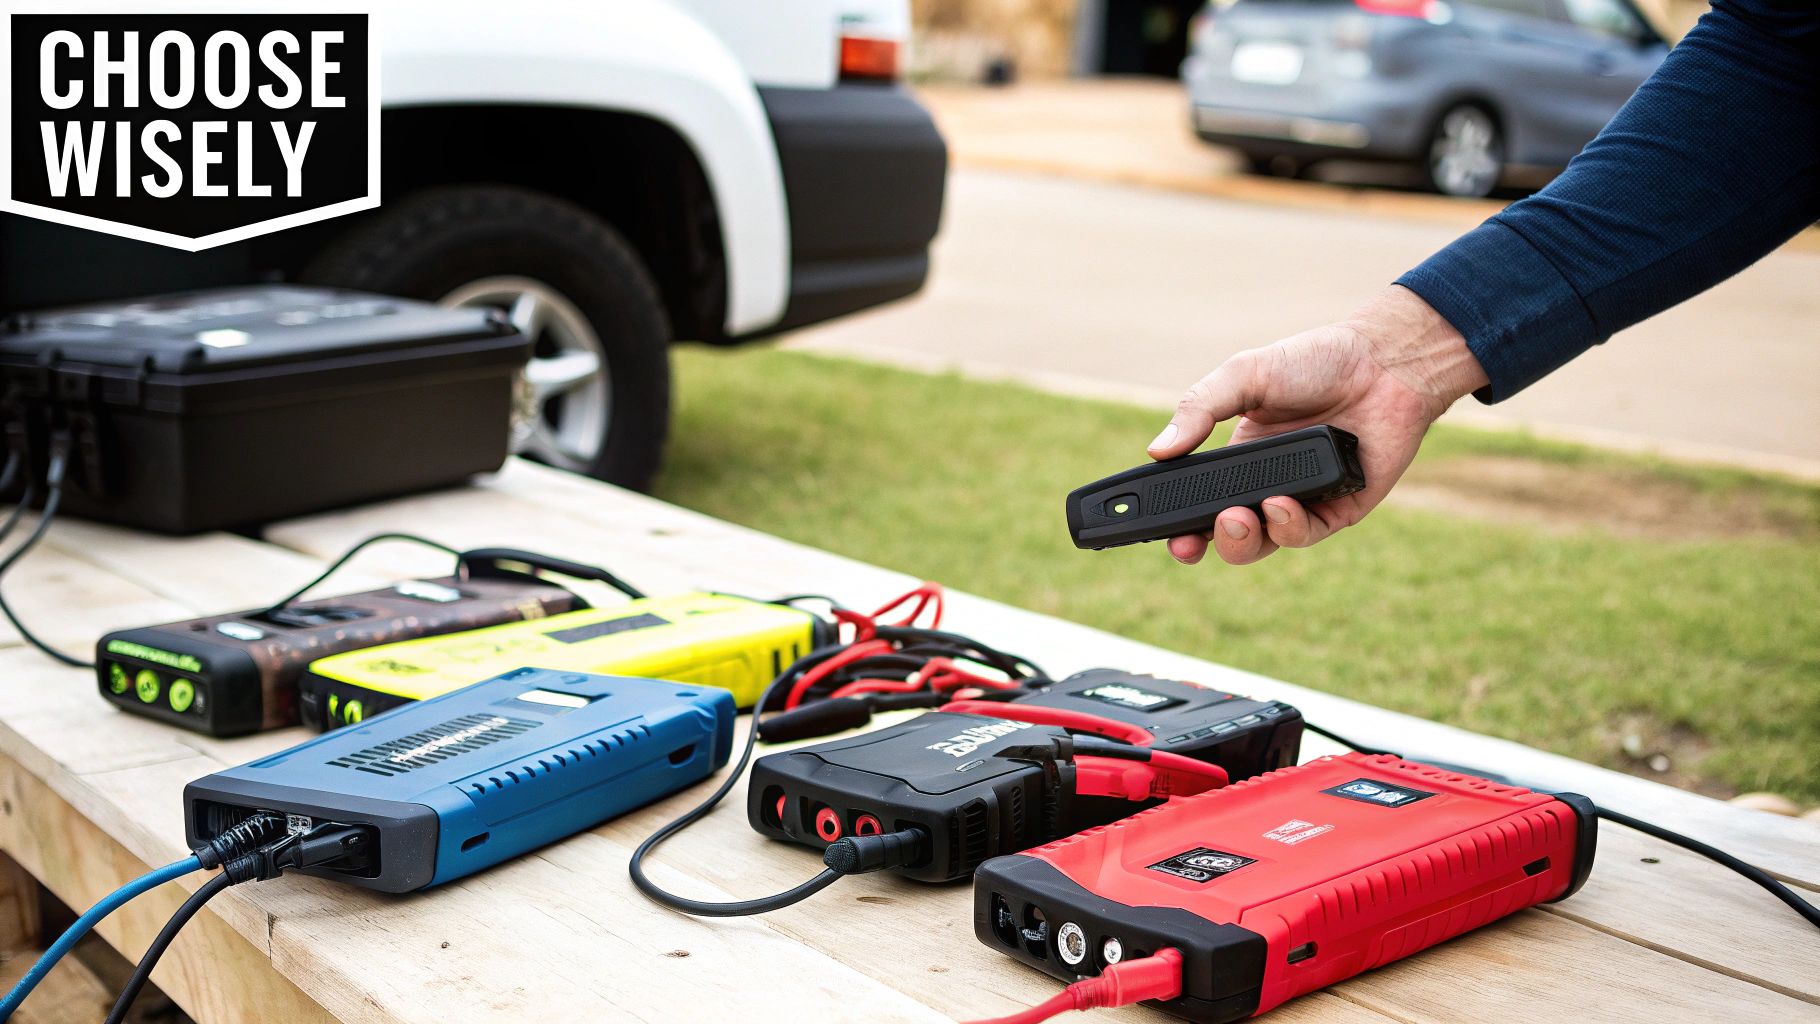
Jump Starter Quick Selection Guide
Choosing the right jump starter can feel tricky, but it really comes down to your car and your daily driving habits. Here’s a quick guide to help you decide what’s best for UK roads.
| Starter Type | Best For | Key Feature |
|---|---|---|
| Compact Lithium-Ion | Everyday commuters, family cars (most petrol/small diesel engines) | Small enough to fit in a glovebox, often includes a USB port for charging phones. |
| Heavy-Duty Power Pack | Taxis, commercial vans, 4x4s (large petrol/diesel engines) | Higher peak amps for powerful engines and built for frequent, reliable use. |
| Multi-Function Unit | Long-distance travellers, outdoor enthusiasts | Includes extras like an air compressor, LED work light, and multiple power outputs. |
Ultimately, the goal is to match the power pack to your engine size and needs. A small investment here pays for itself the very first time you use it.
Choosing the Right Jump Starter for Your Needs
Not all jump starters are built the same, and the one that’s perfect for a small city car won’t cut it for a commercial van.
- For the Everyday Driver: A compact lithium-ion starter is more than enough for most family saloons, hatchbacks, and daily runabouts. They’re incredibly small, easy to store, and many double up as power banks for your phone or tablet.
- For Taxis and Commercial Vans: If your vehicle is your office, you need something more robust. Look for a jump starter with higher peak amperage designed for larger engines (like a 6.0L petrol or 3.0L diesel). For a professional, reliability isn’t a feature—it’s a requirement.
Investing in the right jump starter is a small price for the peace of mind and practicality it delivers. It’s a core part of any modern driver’s toolkit. And for those times when a jump start isn’t enough, you might find our guide on comprehensive roadside assistance services useful.
Preparing for a Safe and Successful Jump Start

Before you even think about connecting those clamps, take a moment to set the scene. A successful jump start is a safe one, and that begins with a quick check of your surroundings and your gear.
First things first: get your vehicle to a safe spot. If you can, move it well away from passing traffic. Pop it into Park (or Neutral if it’s a manual) and pull that handbrake up tight. This is a must-do, especially for taxi or towing pros dealing with a client’s car on a busy road. Your safety, and everyone else’s, comes first.
Next, kill all the electronics inside the car. That means headlights, interior lights, the radio, and the air con. Trying to draw power from an already dead battery just makes the jump start harder than it needs to be.
Your Pre-Jump Safety Inspection
A quick look at the battery itself can stop a serious accident before it happens. Modern car batteries are tough, but they aren’t indestructible. You’ve got to know the warning signs before you go any further.
- Cracks or Leaks: See any cracks in the battery’s plastic case or signs of leaking acid? Stop right there. Do not attempt to jump it.
- Bulging or Warped Case: A swollen or bent battery case is a dead giveaway of internal damage, usually from being overcharged. It’s a no-go for a jump start.
- Heavy Corrosion: That white or blueish powder building up on the terminals can stop you from getting a good connection. You can clean off a little bit, but a massive build-up might point to a bigger problem.
- Rotten Egg Smell: A strong, sulphurous odour means the battery is venting hydrogen gas. It’s flammable and dangerous. Back away from the vehicle immediately.
For professionals in the towing and taxi industry, this isn’t just a friendly tip—it’s a critical part of your duty of care. Never risk hooking up a jump starter to a battery that’s visibly damaged or leaking. The chance of an explosion might be slim, but it’s very real.
Gathering the Right Gear
Having the right safety equipment on hand turns a risky job into a routine one. The jump starter is your main tool, but it shouldn’t be the only thing you grab.
Always, always wear safety glasses and a pair of gloves. The glasses will protect your eyes from any sparks or acid splash, and the gloves protect your hands while giving you a solid grip on the clamps. Keeping these items packed with your jump starter means you’re always ready to go.
This sort of prep is all part of a good vehicle maintenance habit. By regularly doing some basic spring car checks every driver should do, you can often spot a weak battery before it leaves you stranded. After all, a well-looked-after car is far less likely to need a jump in the first place. Taking these simple precautions ensures your jump start isn’t just successful, but completely safe too.
Right, with the safety checks out of the way, it’s time to get your hands dirty. Using a modern jump starter pack is surprisingly simple, but the order you do things in is absolutely crucial. Getting it right not only works, it also protects both you and your car’s delicate electronics from any costly damage.
Think of it as a simple, repeatable drill that takes all the guesswork out of a stressful situation. The process I’m about to walk you through is basic, but essential, knowledge for any driver.
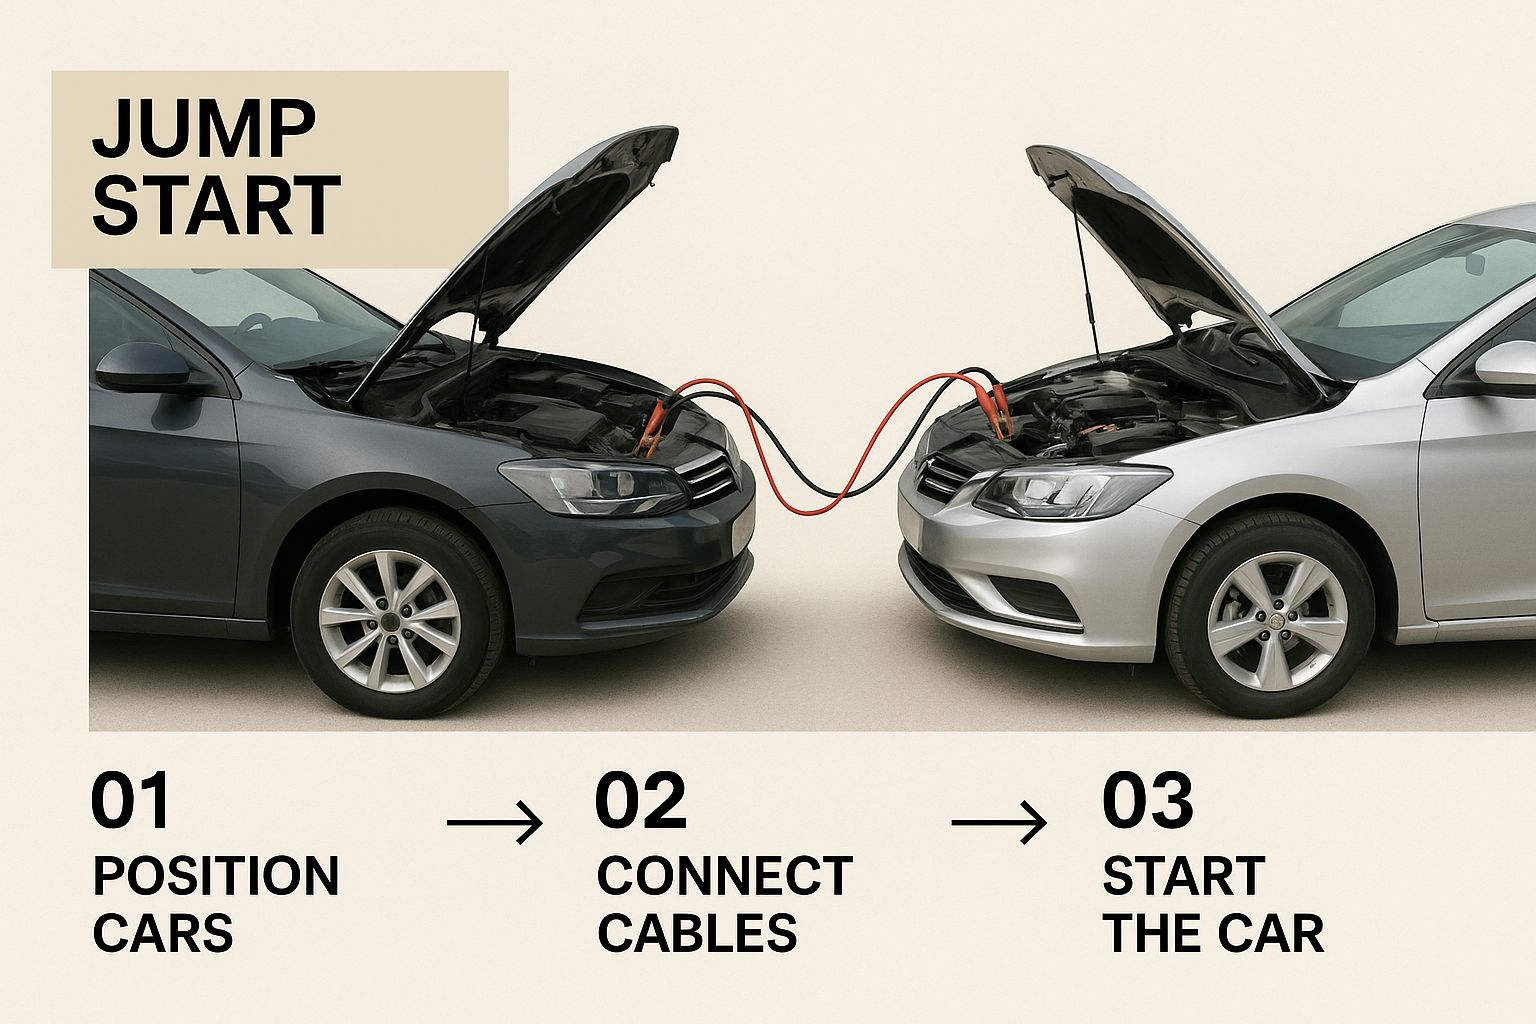
This image is a great visual reminder of the proper connection sequence for your jump starter’s clamps—a vital step in preventing electrical problems.
The Connection Sequence
If you remember one thing, make it this: red to red, then black to metal. This little phrase is your ticket to a safe connection every single time. First things first, make sure your portable jump starter is switched off before you connect a single clamp.
- Positive First: Grab the red (positive) clamp and get a solid grip on the positive (+) terminal of your flat battery. You’ll usually see a “+” symbol, and it might have a red plastic cover you need to flip open. A good, clean connection here is key.
- Negative to Ground: Now, take the black (negative) clamp and attach it to a solid, unpainted piece of metal on the engine block or the car’s chassis. A chunky bolt head or a metal bracket are perfect candidates. Do not connect the black clamp to the negative (-) terminal of the dead battery.
So why do we do it this way? Connecting that final clamp away from the battery itself creates what’s called a ground connection. It’s a simple move, but it dramatically lowers the risk of creating a spark right next to the battery. If the battery happens to be faulty and leaking hydrogen gas, a spark could be disastrous. This is easily the most important safety step in the whole process.
Powering On and Starting the Engine
With the clamps correctly and securely in place, you’re ready to bring the engine back to life.
Go ahead and switch on your portable jump starter. Most new models have an indicator light that’ll tell you it’s connected properly and ready to go.
Now, hop into the driver’s seat and try starting the car just like you normally would. More often than not, the engine will fire right up. If it does, brilliant! If it doesn’t catch on the first try, don’t just keep cranking the key.
Give it a minute or two before trying again. This lets the jump starter pack cool down and gives the flat battery a moment to absorb a little surface charge, which can make all the difference on the second attempt. Trying to force it can overheat the jump starter or, worse, your vehicle’s starter motor.
This short pause is especially critical on a cold morning. Despite the popularity of new lithium-ion tech, many of the old-school lead-acid jump starters are still around because their high cold-cranking amps (CCA) ratings are unbeatable for getting a car started in the winter. Here in the UK, a cold snap is the number one killer of car batteries, making a reliable jump starter a must-have for both private car owners and commercial fleets. You can find more detail on vehicle jump starter market trends in this insightful report.
The Disconnection Process
As soon as the engine is running smoothly, it’s time to disconnect everything in the exact reverse order of how you connected it. This is just as important for safety.
- First, switch the jump starter pack off.
- Next, remove the black (negative) clamp from the metal ground point on the chassis.
- Finally, take off the red (positive) clamp from the battery terminal.
Make sure the metal clamps don’t touch each other or any other metal part of the car while you’re disconnecting them. Once the jump starter is packed away safely, leave the car’s engine running for at least 15-20 minutes. This gives the alternator a chance to begin recharging the battery.
How to Handle Modern and Hybrid Vehicles
The days when every car had a battery right at the front of the engine bay are long gone. Modern vehicles, and especially hybrids, can throw a real spanner in the works, frustrating even seasoned drivers and professionals. Knowing how to handle these newer systems is crucial for getting the job done safely.
Many new cars come with advanced battery management systems (BMS) to keep everything running efficiently. These systems can be quite sensitive, so using a high-quality jump starter with built-in safety features like short-circuit and reverse polarity protection isn’t just a good idea—it’s essential. For a taxi driver or towing professional, this isn’t a rare exception; it’s a daily reality.
Finding Hidden Batteries and Remote Terminals
One of the biggest headaches is just finding the battery. Manufacturers now stash them all over the place to improve weight distribution or save space—in the boot, under a seat, or even beneath the floor. Trying to get to it directly can be a nightmare.
Thankfully, engineers have given us an easier way: remote jump points under the bonnet. These are put there specifically for jump-starting.
- Positive Terminal: Look for a red plastic cap, usually marked with a “+” symbol. Pop it open, and you’ll find the positive remote post.
- Negative Point: You won’t find a dedicated negative post. Instead, you’ll need to find a solid, unpainted metal part of the chassis or a sturdy bolt on the engine block to use as your ground point. It’s the same principle as a standard jump start.
If you’re ever in doubt, the owner’s manual is your best friend. For a recovery operator who sees dozens of different models every week, knowing where to look for these remote points saves a massive amount of time and hassle.
The Special Case of Hybrids and Electric Vehicles (EVs)
This is where things get really serious. Both hybrids and fully electric vehicles have two separate battery systems. There’s the huge, high-voltage traction battery that makes the car move, and then there’s a much smaller 12-volt auxiliary battery that powers all the regular electronics like your lights and radio.
You can only ever jump-start the 12V auxiliary battery. Never, under any circumstances, try to connect a jump starter to the main high-voltage battery. It’s incredibly dangerous and can cause catastrophic damage to the vehicle and put you at risk of severe injury.
On an EV, if that little 12V battery dies, the car won’t “start” or power on, even if the main traction battery is fully charged. The good news is that jump-starting this smaller battery is exactly the same as for a petrol car, using the remote terminals under the bonnet. Knowing this distinction is vital for any roadside professional.
EVs are changing the game fast. With the UK recently registering its millionth electric vehicle, the EV battery market is booming and is projected to grow at 12.7% annually. This just goes to show why understanding these modern systems is no longer a niche skill. You can learn more about the growing UK EV battery pack market and see just how quickly things are changing.
Troubleshooting When the Car Still Won’t Start
So, you’ve hooked up the jump starter, followed the instructions perfectly, and turned the key… only to be met with that gut-wrenching silence or a faint, frustrating click. It’s a moment every driver dreads, whether you’re a private car owner running late or a busy taxi driver trying to get to your next fare.
When the initial jump fails, it’s time to stop trying and start investigating. The culprit usually falls into one of three camps: a problem with the jump starter pack, a poor connection, or a deeper issue lurking within the car itself. A quick, methodical check can save you a world of frustration and point you toward the right next step.
Diagnostic Flow: What to Check First
Before you throw in the towel and assume the worst, run through a quick diagnostic checklist. This is exactly what a professional towing operator would do to quickly figure out if it’s a simple fix or if the vehicle needs to be recovered.
- Check the Jump Starter: Is your pack actually fully charged? Most modern units have handy indicator lights to show their power level. It’s not uncommon for a low-charge jump starter to have enough juice to make the dashboard lights flicker, but not nearly enough grunt to turn the engine over.
- Inspect the Connections: A solid, clean electrical connection is everything. Go back and give your clamps a second look. Are they biting down firmly on clean, bare metal? Any corrosion on the battery terminals or a clamp gripping a painted surface will stop the power from flowing properly. Give them a good wiggle to make sure they have a tight grip.
- Listen to the Sounds: Pay attention to what you hear—or don’t hear. The sounds your car makes can tell you a lot.
- A rapid, frantic clicking noise? This often means the car’s battery is just too flat to take the jump, or your connection isn’t solid.
- A single, solid click when you turn the key? This often points to an issue beyond the battery, like a faulty starter motor or solenoid.
- Complete silence? This could be a totally dead battery, but it might also signal a problem with the ignition switch itself.
One of the most common mistakes is assuming a failed jump means the car battery is the only problem. If your jump starter is fully charged and the connections are perfect, but all you get is a single click, the fault likely lies with the vehicle’s starter. Realising this can save you from wasting more time trying to jump a car that simply can’t be started.
When Is It Time to Call for Help?
Sometimes, a jump start just isn’t the answer. If you’ve run through all the checks and the car is still playing dead, you’re probably dealing with a more serious issue. The same goes if the car starts but then immediately dies after you disconnect the pack.
This could be anything from a battery that’s so worn out it can no longer hold a charge, to a failing alternator that isn’t recharging the battery while you drive. When you hit this wall, the safest and most efficient move is to call in the professionals.
For a modern, hassle-free way to get reliable help, using a roadside assistance app in the UK can connect you directly with vetted local technicians. They have the tools to diagnose the problem correctly and get you properly back on the road.
You can see this link for Reliable Towing Service in London article here or the here is the link for Tyre Bead Sealant: A Fleet Manager’s Guide to Maximising Uptime.
Keeping Your Jump Starter Ready for Action
A powerful jump starter is a brilliant bit of kit, but it’s only useful if it actually works when you need it. Proper care is what separates a life-saving tool from a heavy, useless box in your boot. For any driver, this is important. But for professionals in the taxi and towing game, thinking about maintenance isn’t just a good idea—it’s part of being ready for the job.
The secret to a long and happy life for your jump starter is all about managing its charge. Think of it like your mobile phone; you wouldn’t let it die completely all the time. The same logic applies here. It’s always best to top up your jump starter after every single use, no matter how quick the job was.
Charging Schedules and Smart Storage
Even when it’s just sitting there, a jump starter will slowly lose its charge. For the newer, lighter lithium units, a good rule of thumb is to check the power level and give it a top-up every three to six months. If you have one of the older, heavier lead-acid models, you’ll want to check it more often, maybe every couple of months.
Where you keep your jump starter also makes a massive difference, especially with the UK’s unpredictable weather.
- Dodge Extreme Temperatures: Both scorching summer heat and a proper winter freeze are the enemies of any battery. Leaving a jump starter in a car’s cabin where temperatures can soar or plummet will seriously degrade its performance and shorten its life.
- Find a Cool, Dry Home: If you can, store the unit in a garage or shed where the temperature is more stable. When you have to keep it in the vehicle, stick it in the boot—ideally in its protective case—to shield it from direct sun and the worst of the cold.
A classic mistake is to “charge it and forget it.” For a jump starter to be ready when you need it most, it needs a routine check-up, just like you’d check your tyre pressure or oil.
Fleet-Wide Checks for Taxi and Towing Businesses
For a business running a fleet of vehicles, a dead jump starter isn’t just a minor headache; it’s a potential service failure that costs you time and money. Putting a simple, fleet-wide check-up routine in place is a no-brainer.
A monthly check is a great place to start. The driver can do a quick visual inspection and a power level check at the start of their shift once a month, recording it in a simple logbook. This tiny step ensures every vehicle in your fleet has a fully functional jump start battery, ready to sort out any situation without costly delays. It turns a potential roadside drama into a non-issue, keeping your drivers—and your clients—on the move.
Still Got Questions?
Even with a step-by-step guide, it’s natural to have a few questions when you’re faced with a dead battery. Let’s tackle some of the most common ones we hear from drivers across the UK.
How Often Should I Top Up My Portable Jump Starter?
The golden rule is to recharge your jump start battery pack after every single use. Simple.
Even if it just sits in your glovebox, you’ll want to give it a full charge every 3 to 6 months. Modern lithium packs are fantastic at holding their power, but leaving one for too long—especially with the UK’s lovely temperature swings—can mean it won’t be ready when you are.
A quick glance at the manufacturer’s instructions is always a good idea. That way, you know your pack is at 100% and ready to go.
Will a Jump Starter Work on Any Car, Even a New One?
Most portable jump starters are built for the standard 12V systems you find in almost all petrol and diesel cars and vans. They even work on the 12V auxiliary batteries in modern hybrid and electric vehicles.
The real key is matching the power. Always check the jump starter’s engine rating (you’ll see things like ‘up to 6.0L petrol’) to make sure it has enough oomph for your specific car.
For newer cars loaded with sensitive electronics, I’d strongly recommend using a modern jump pack. Look for one with built-in safety features like reverse polarity and over-voltage protection to avoid any expensive mistakes.
What’s the Real Difference Between a Lithium and a Lead-Acid Jump Starter?
It really boils down to size, weight, and the tech inside. Here’s a simple way to think about it:
Lead-acid jump starters are the old-school workhorses. They’re bigger, heavier, and often pack a serious punch with high cold-cranking amps (CCA). This makes them incredibly reliable in a freezing UK winter. For a recovery operator who needs pure, raw power day in and day out, they’re still a solid choice.
Lithium-ion jump starters are the new kids on the block—compact, modern, and incredibly lightweight. You can tuck one in your glovebox and forget it’s there. They often come with handy extras like USB ports for charging your phone. While their CCA numbers might look lower, the technology has come so far that they can easily start most cars and even many commercial vehicles.
Ultimately, there’s no single “best” option. It depends on your car, how much space you have, and what you need it for. Both will get you back on the road when you need it most.
You can see this link for Reliable Towing Service in London article here or the here is the link for Tyre Bead Sealant: A Fleet Manager’s Guide to Maximising Uptime.
When a jump start isn’t the answer, or you just want a professional to handle it, Crisfix connects you with trusted local experts, instantly. Whether you need a tow, a new tyre, or a mobile mechanic, you can book reliable help right from our app. Download Crisfix and drive with complete confidence.
Find professional roadside help with the Crisfix App
Article created using Outrank