


 by
by Before you even think about connecting jump leads to a dead battery, there are a few non-negotiable checks you need to run through. Whether you’re a taxi driver in London needing to get to your next fare or a delivery driver in Manchester on a tight schedule, taking a moment to get this right can be the difference between a quick fix and a very expensive mistake that damages your car’s electronics or, even worse, causes an injury.
Essential Checks Before Using Jump Leads
A flat battery is one of those incredibly common frustrations for drivers everywhere, from the packed streets of Liverpool to the quieter roads up in Newcastle. As soon as the weather turns cold, the chances of your battery giving up skyrocket. It’s no surprise that breakdown services say dead batteries are responsible for around 20-25% of all their callouts during winter in the UK.
With more cars on UK roads than ever, knowing how to handle this yourself is a vital skill. The entire process starts with safety and a good look-around. Before a single cable is connected, you need to check a few things to protect yourself and both cars involved.
Prepare the Vehicles and the Area
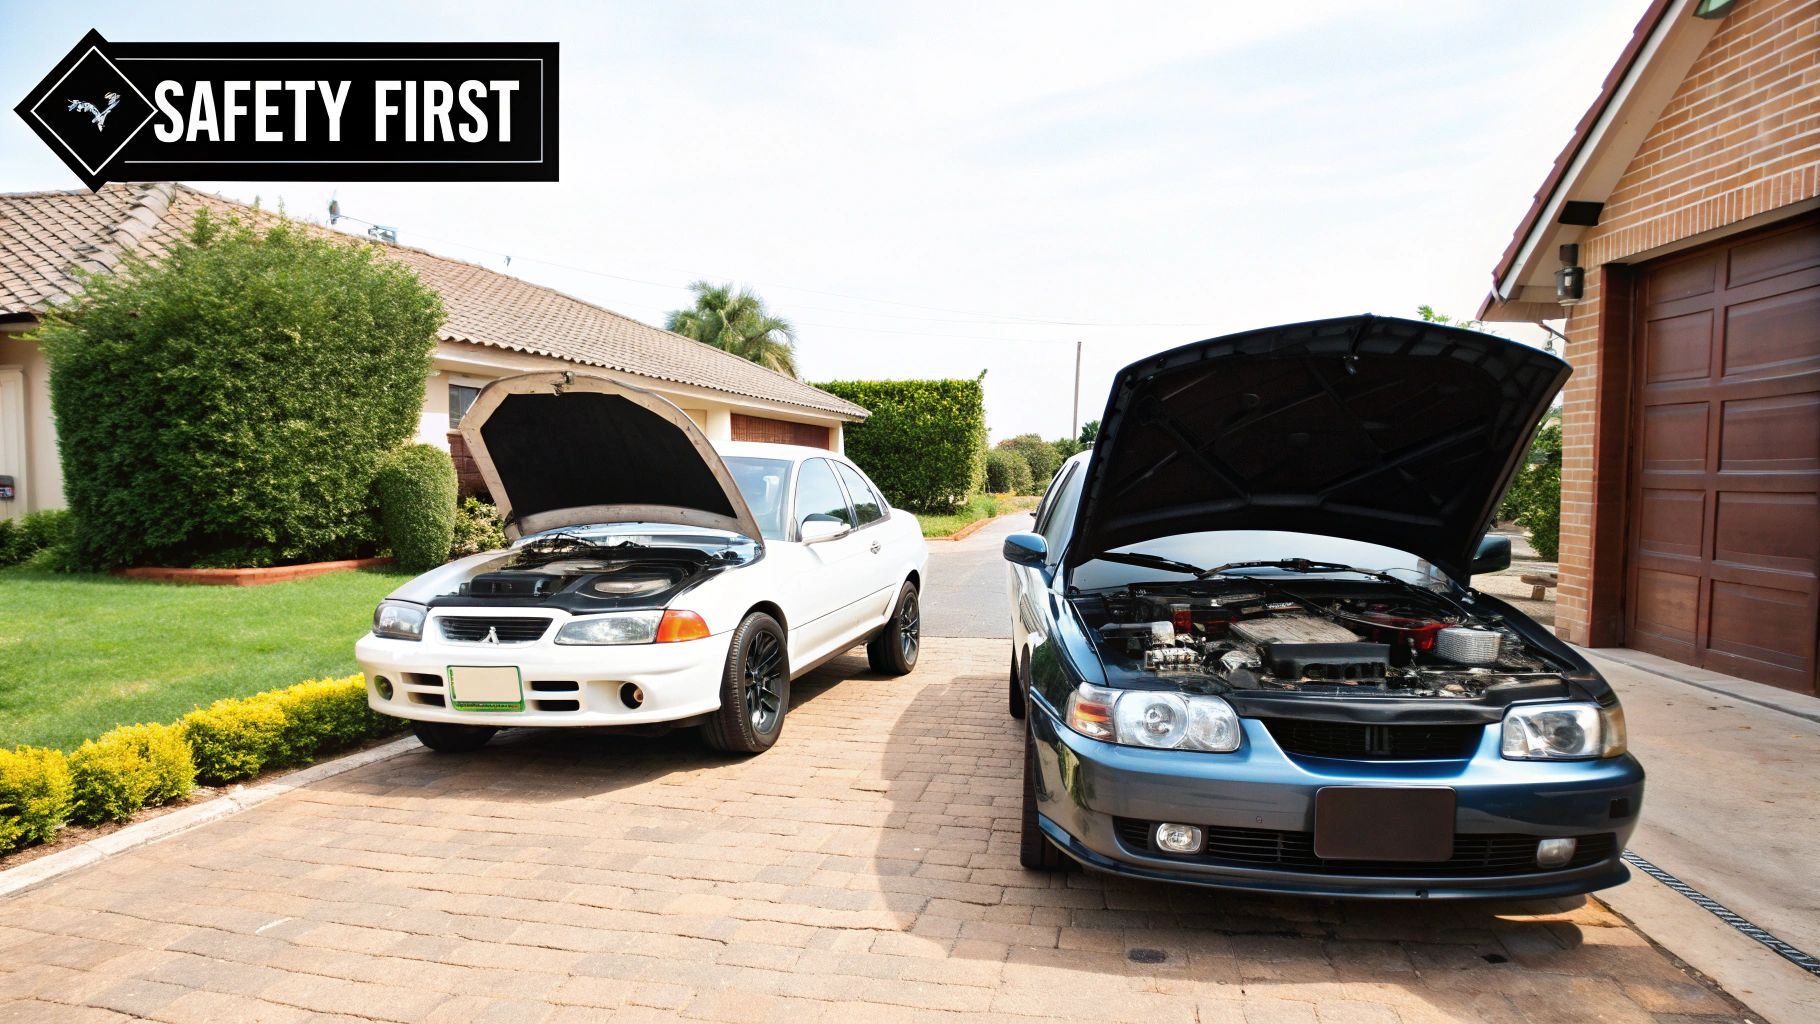
First things first, get the cars into position. You’ll need to park the car with the working battery close enough for the jump leads to reach easily, but make absolutely sure the two cars are not touching. Any metal-on-metal contact between them can create a dangerous electrical short once the batteries are linked.
Once they’re parked, turn off both engines and take the keys out of the ignition. This is just a simple way to prevent any accidental starts. It’s also a smart move to switch off everything electrical in both cars—headlights, radio, heaters, interior lights. This helps prevent a sudden power surge that could fry sensitive electronics.
Inspect the Battery and Leads
Next, pop the bonnet and give the dead battery a careful visual inspection. You’re looking for any obvious red flags, like:
- Cracks in the plastic casing.
- Any signs of leaking battery acid (if you see this, stop immediately).
- Heavy corrosion on the terminals or bulging sides on the battery itself.
If you spot any of these issues, do not even attempt to jump-start it. A damaged battery can vent flammable hydrogen gas, and trying to force a current through it is extremely risky. This is the point where you call in a professional. Our guide on how to jump-start a battery safely goes into more detail on when it’s time to get expert help.
Finally, take a look at your jump leads. Using cheap, thin, or damaged cables is a huge risk. They can get dangerously hot, melt their insulation, and simply won’t transfer enough power to get the job done. Always invest in a set of heavy-duty leads with thick, well-insulated cables and strong, chunky clamps for a safe and effective connection. A few minutes of prep here will save you a world of headaches later on.
The Correct Sequence for Connecting Jump Leads
Messing up the connection order with jump leads isn’t just a simple mistake—it can be a recipe for disaster. One wrong move can create dangerous sparks, short-circuit your car’s sensitive electronics, or even fry the ECU. That’s a repair that can easily run into hundreds of pounds.
Whether you’re stuck in a packed Manchester car park or on a quiet residential street in Newcastle, getting this sequence right is your ticket to a safe and successful jump start.
It’s not about just memorising a few steps; it’s about understanding why you’re doing it. The whole “Positive to Positive, Negative to Earth” method is designed to minimise risk, especially the danger of a spark igniting flammable hydrogen gas that can vent from a lead-acid battery.
Let’s walk through it properly, so you can handle it with confidence every single time.

These three pre-checks—parking up properly, turning everything off, and making sure the terminals are clean—are the foundation. Don’t skip them.
The Connection Walkthrough
Once you’ve done your safety checks and both cars are prepped, it’s time to connect the leads. You absolutely must follow this order. No shortcuts. Think of it as a strict, four-part routine.
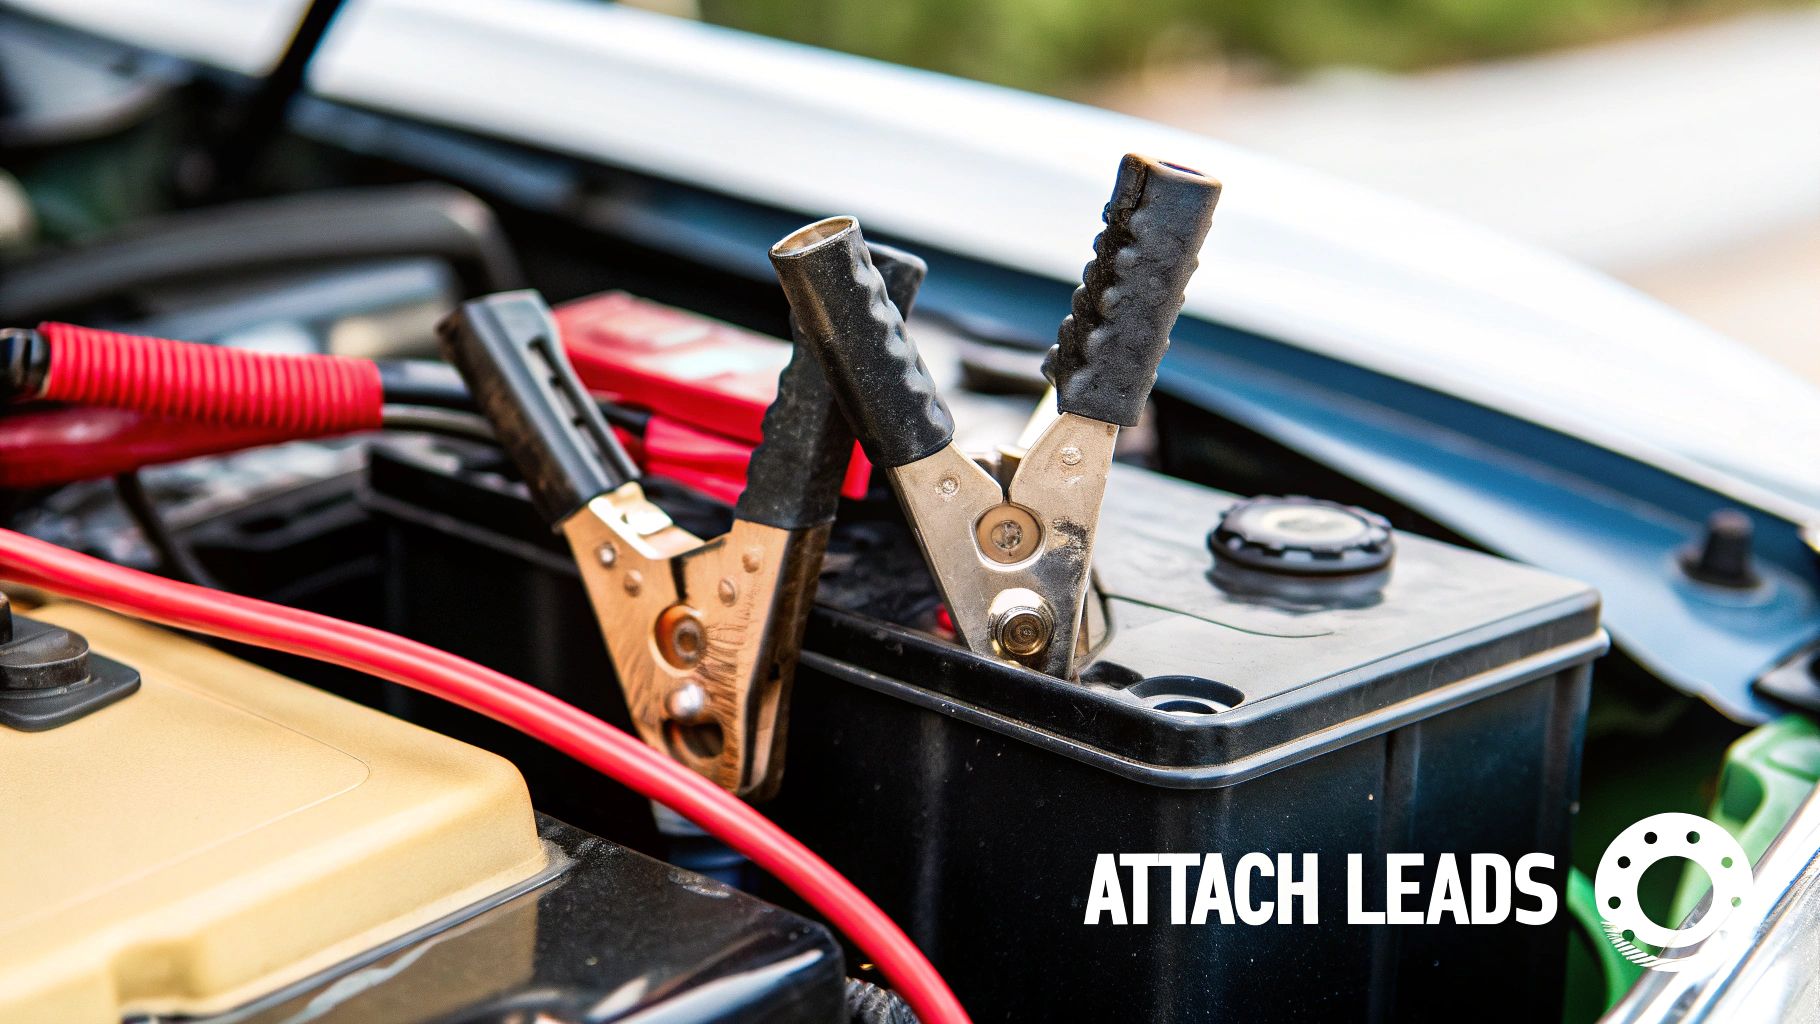
- Red Lead to the Flat Battery: Grab the red (positive) jump lead. Firmly clamp one end to the positive (+) terminal on the dead battery. You’ll often see a “+” symbol or a red plastic cap covering it.
- Red Lead to the Donor Battery: Now, take the other end of that same red lead and clamp it securely to the positive (+) terminal on the working battery of the donor car. The positive side of the circuit is now complete.
- Black Lead to the Donor Battery: Next up is the black (negative) lead. Attach one of its clamps to the negative (-) terminal of the donor car’s battery.
- Black Lead to an Earthing Point: This is the most crucial step for safety. Take the final black clamp and attach it to a solid, unpainted metal part of the engine block or chassis on the car with the flat battery.
CRITICAL: Do not connect this last clamp to the negative terminal of the dead battery. Why? Connecting it there can create a spark right next to the battery, which might be venting flammable gases. By using a solid metal earthing point away from the battery, you complete the circuit far more safely, massively reducing the risk of a nasty surprise.
Finding a Good Earthing Point
Locating a decent earthing point is much easier than it sounds. You’re simply looking for a chunky piece of bare metal on the engine or the car’s frame.
Good spots usually look like:
- A thick, unpainted bolt head on the engine itself.
- A sturdy metal bracket that’s part of the car’s main body.
- Any solid, non-moving metal surface that’s well away from the battery and any fuel lines.
Steer clear of any painted or greasy surfaces, as they won’t give you a good electrical connection. Taking an extra 10 seconds to find a proper earth point is easily the most important safety precaution you can take.
How to Start the Engine and Disconnect Safely
Alright, the leads are connected securely, which is genuinely the trickiest part of the job. Now for the moment of truth: bringing the dead car back to life. It’s not just about turning the key; how you do it—and how you disconnect everything afterwards—is crucial for protecting both cars’ electronics.
Before you even touch the ignition on the dead car, go and start the engine of the donor vehicle. Let it tick over for at least five minutes. This isn’t just a waiting game. It allows the alternator to send a steady current through the leads, giving the flat battery a much-needed surface charge. Think of it as priming the system before the main event.
Firing Up the Engine
After a few minutes, it’s time. Hop into the car with the flat battery and try to start it as you normally would. If all the connections are solid, it should fire up. But don’t worry if it doesn’t catch on the first try. It happens.
If the engine just clicks or turns over weakly, stop. Don’t keep cranking the ignition, as you risk overheating the starter motor. Give it another two or three minutes with the donor car running to let more charge build up, and then try again. If it still refuses to start after a couple of attempts, you’re likely looking at a bigger problem, like a failed alternator or a battery that’s simply beyond saving.
This is the point where you stop forcing it. A car that repeatedly fails to jump-start is sending a clear message that something else is wrong. Instead of risking damage, this is the perfect time to open the Crisfix App. You can get a professional mechanic to your location in Birmingham, Manchester, or anywhere else in England for a proper diagnosis.
The Safe Disconnection Procedure
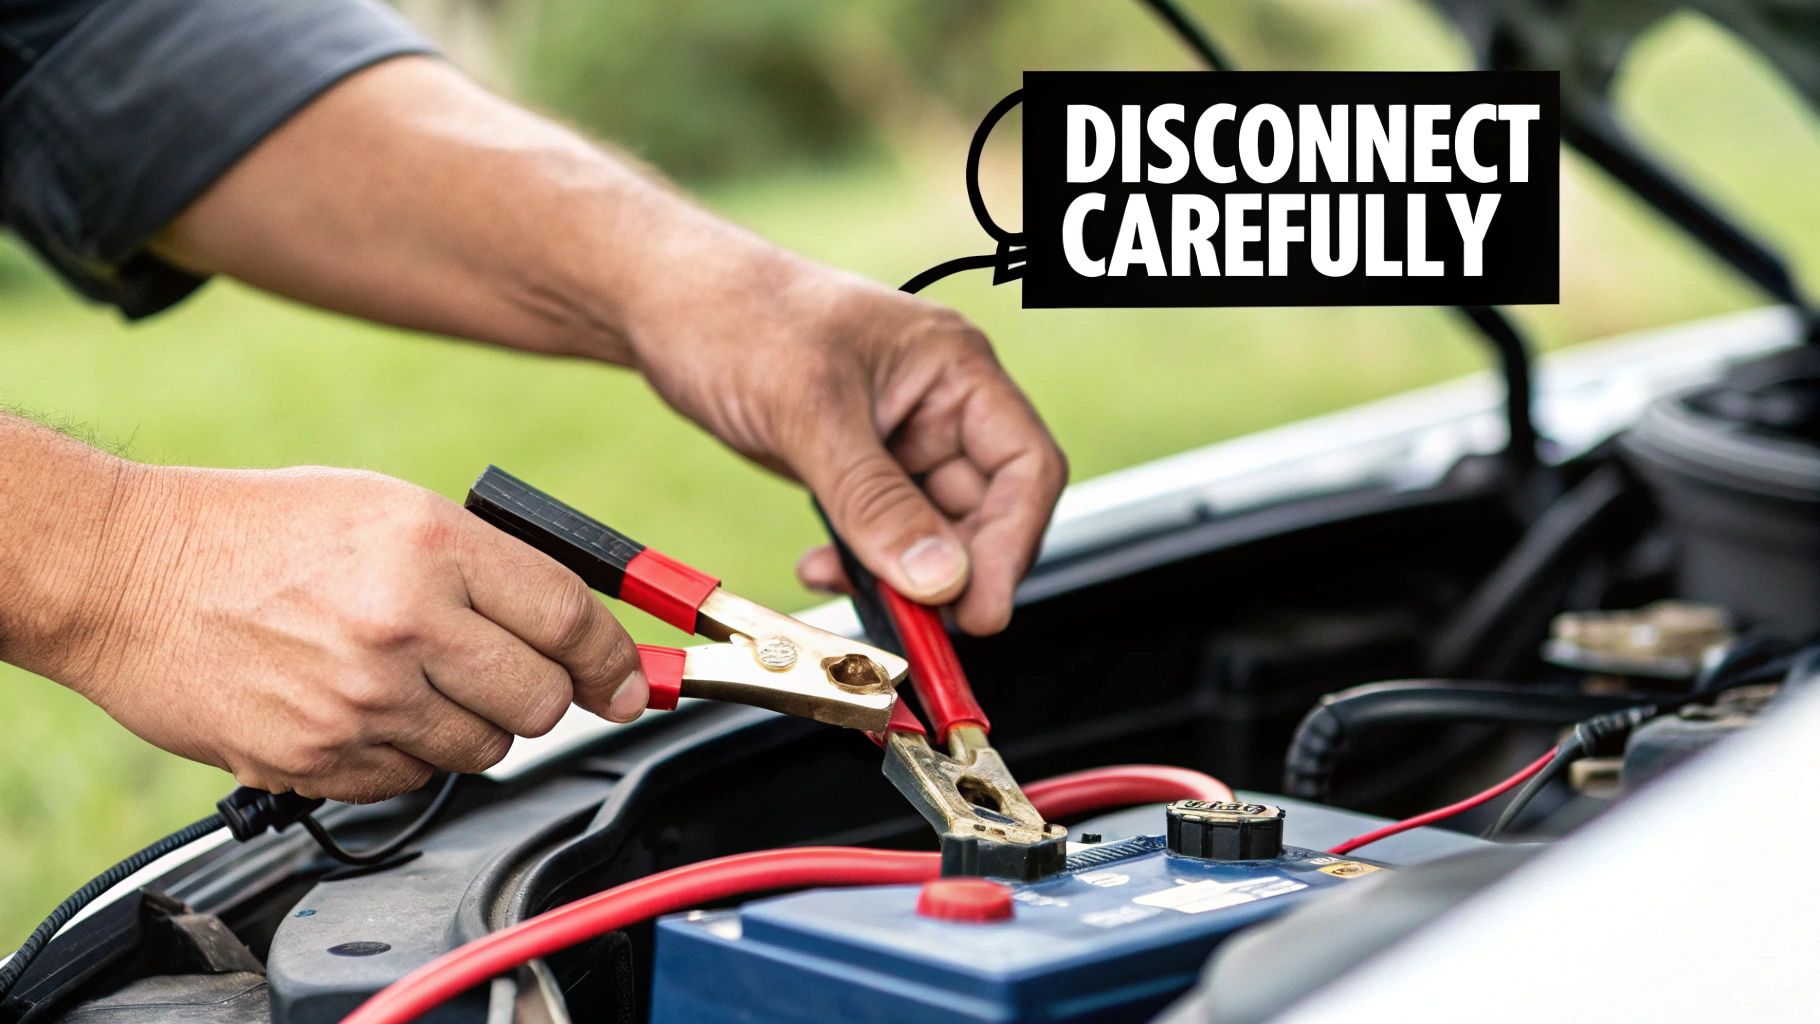
Once the car is running, the final step is to get those leads off. This absolutely must be done in the exact reverse order of how you connected them. Doing it any other way can cause dangerous sparks and electrical surges that could fry the electronics in either car.
With both engines still running, carefully remove the clamps in this specific sequence:
- Black Lead from Earthed Metal: Start by disconnecting the black (negative) clamp from the earthed metal point on the car you just revived.
- Black Lead from Donor Battery: Now, remove the other end of the black lead from the negative terminal of the donor car’s battery.
- Red Lead from Donor Battery: Next, unclip the red (positive) clamp from the donor car’s battery.
- Red Lead from Revived Battery: Finally, a UK mechanic might advise turning on the demister and blowers in the just-started car before this final step to absorb any voltage spikes. Then, remove the last red clamp from the positive terminal of the car that’s now running.
Once the leads are off and safely stowed, don’t just switch the engine off. You need to let the alternator do its job and recharge the battery. Take the car for a solid 30-minute drive. Try to stick to roads where you can maintain a steady speed, as stop-start city traffic in London won’t be as effective. This drive is your insurance against getting stranded again next time you need to start it.
Choosing the Right Jump Leads for Modern Cars
Not all jump leads are created equal. With today’s complex car electronics, stop-start systems, and hybrid engines, picking the right set is more critical than ever. A cheap, flimsy pair of leads that worked fine on a simple 90s hatchback could cause serious damage to a modern car’s ECU. You can’t afford to get this wrong.
When you’re shopping for jump leads, it’s tempting to grab the cheapest set. Don’t. You need to look past the price tag and focus on what really matters: cable thickness, length, and the quality of the clamps.
Decoding Cable Thickness and Length
The thickness of the cable, usually measured in mm², determines how much electrical current it can handle safely. A thicker cable (a larger mm² number) can push more power to a dead battery without overheating, which is vital for starting larger engines or reviving a battery that’s completely flat.
Using leads that are too thin is a classic mistake. They can get dangerously hot, melt their plastic insulation, and ultimately fail to deliver enough juice to get you going. For most passenger cars on UK roads, you should be looking for leads that are at least 25mm² thick.
Length is all about practicality. Sure, a short set is easy to tuck away in your boot, but it becomes a nightmare when you can’t park the donor car nose-to-nose. A set that’s around 3 to 5 metres long gives you enough flexibility to work around tight parking spots, whether you’re in a multi-storey in Manchester or on a narrow street in Birmingham.
Clamps and Modern Safety Features
The clamps are where the action happens, and quality is non-negotiable. You want strong, heavy-duty clamps with powerful springs. A weak clamp means a poor connection, and that means you’re going nowhere. Fully insulated clamps are also a must-have, as they dramatically reduce the risk of an accidental short-circuit if they touch.
Thankfully, modern safety concerns have driven huge improvements here. Products with built-in safety tech are now the standard, not the exception. For instance, you’ll see devices like the Clarke JumpStart Micro 1200 getting top marks in reviews because they’re reliable and packed with user-friendly features. If you want to see what the experts are recommending, check out this detailed review of the best jump starters on WhatCar.com.
These innovations are what separate a good tool from a great one. Spark-proof technology prevents a dangerous arc if the clamps accidentally touch, while reverse polarity protection will stop you from frying your car’s electronics if you connect the leads the wrong way round.
This evolution has also paved the way for a whole new category of tool: the portable lithium-ion jump starter. These compact power packs have changed the game completely.
Jump Leads vs Portable Jump Starters
For years, a good set of jump leads was the only option. But now, portable jump starters offer a compelling alternative. They don’t require a second vehicle, are packed with safety features, and are small enough to fit in your glovebox. So, which one is right for you?
This table breaks down the key differences to help you decide.
| Feature | Traditional Jump Leads | Portable Jump Starter |
|---|---|---|
| Power Source | Requires a second vehicle with a healthy battery. | Self-contained lithium-ion battery; no second car needed. |
| Convenience | Can be awkward if cars can’t be parked close together. | Extremely portable and can be used anywhere, anytime. |
| Safety Features | Basic models have none. Relies entirely on correct usage. | Often includes spark-proof tech and reverse polarity protection. |
| Cost | Generally cheaper for a basic, good-quality set. | Higher initial cost, but offers more features and autonomy. |
| Versatility | Sole purpose is to jump-start a car. | Many models double as a power bank to charge phones/laptops. |
| Ideal For | Drivers who want a simple, budget-friendly backup tool. | Drivers wanting a self-sufficient, safer, and more versatile solution. |
While traditional leads still have their place, the convenience and built-in safety of a portable jump starter make them an increasingly popular choice for UK drivers. They offer complete independence, meaning you don’t have to rely on the kindness of a stranger to get back on the road.
What to Do When a Jump Start Fails
So, you’ve done everything by the book. You connected the jump leads perfectly, gave it a few minutes, turned the key… and got nothing but a disheartening click. It’s a frustrating moment, but a failed jump start is a clear sign that the issue is more serious than just a weak battery.
Instead of trying again and again—which risks damaging your car’s sensitive electronics—it’s time to stop. The problem could be a completely dead battery that can no longer hold a charge, a faulty alternator that’s failed to keep it topped up, or a more complex electrical fault. This is when you need an expert to decide what’s really going on under the bonnet.
Comparing Your UK Roadside Assistance Options
When you’re stranded—whether on a busy London road or in a quiet Birmingham car park—you’ve got choices. Traditional breakdown services have been the default for years, but they aren’t your only option for getting help anywhere in England.
Traditional Breakdown Memberships (The AA, RAC, GreenFlag)
- Pros: If you’re an existing member, the cost is covered by your annual fee. They possess a vast patrol network covering the entire UK, which can be reassuring.
- Cons: Wait times are unpredictable and can exceed an hour during busy winter periods or on bank holidays. For non-members, a one-off callout is extremely expensive. Their main objective is often a temporary fix to get you to a garage, which may not be the most efficient solution for your time or money.
On-Demand Services (Crisfix App)
- Pros: This is the decisive, modern choice. You pay only for the service you need, exactly when you need it, with no annual membership fees. The app directly connects you to vetted, local mobile mechanics and recovery drivers across the UK, often resulting in much faster arrival times. You see the transparent, fixed price upfront, so there are no surprises. This model empowers you to make a purchasing decision based on immediate need and clear cost.
- Cons: Requires a smartphone with sufficient battery and a data signal to access the service, which could be a concern in remote ‘no-signal’ spots.
The real difference lies in the model. Traditional services are an insurance-style product you pay for ‘just in case’. An on-demand service like the Crisfix App is a pay-as-you-go solution that gives you direct control, connecting you with the closest professional ready to solve your problem right now, helping you make a quick and informed buying decision when you’re under pressure.
Deciding Your Next Move
If the jump leads didn’t work, your most efficient move is to get a professional diagnosis. This is where a modern solution really comes into its own. With the Crisfix App, you can request a mobile mechanic who can test your battery and alternator on the spot.
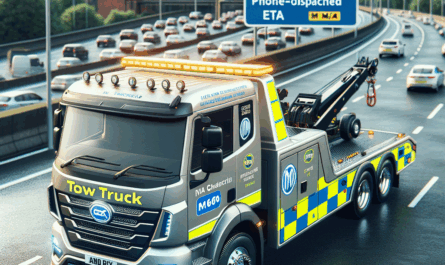
If it turns out you need a tow, you can arrange for immediate car breakdown recovery right there in the app. No extra phone calls, no starting from scratch.
Even with the rise of portable jump starters—which are so convenient they’re projected to hold over 64% of the market share by 2025—a failed start means you’ve got a bigger issue. These powerful packs let drivers sort a flat battery without needing another car, but when even they can’t get the engine going, it confirms the problem is deeper. You can dig into these market trends and the growing popularity of vehicle jump starters if you’re curious.
Frequently Asked Questions About Jump Starting
Even with a solid guide in your hands, it’s completely normal to have a few more questions rattling around when you’re about to use jump leads for the first time. Below, we’ve tackled some of the most common queries we hear from drivers across the UK, from London to Manchester, giving you straight answers so you can get the job done with confidence.
Can I Use Jump Leads On a Hybrid or Electric Car?
Yes, but this is one time you absolutely must check your owner’s manual first. Most hybrids have a normal 12V battery, often tucked away in the boot, that you can jump-start just like a standard petrol or diesel car. The catch is that the exact procedure can be wildly different from one model to another.
The one thing you must never do is attempt to jump the main high-voltage traction battery. It’s incredibly dangerous and can cause catastrophic, expensive damage. For a fully electric vehicle (EV), you can usually jump its 12V battery to get the electronics running again, but the manufacturer’s instructions are law here. If there’s any doubt at all, it’s much safer to call a pro.
What Happens If I Connect the Jump Leads Wrong?
Connecting jump leads the wrong way round—what we call reverse polarity—is one of the most serious mistakes you can make. Best case scenario? You’ll probably blow a major fuse in one or both cars.
In a worst-case scenario, this simple error creates powerful sparks right next to the battery. These sparks can ignite flammable hydrogen gas venting from the battery, causing it to explode. Beyond that, you can instantly damage the vehicle’s ECU, alternator, and other sensitive electronics, leading to repair bills that can easily run into the hundreds or even thousands of pounds.
This is exactly why good quality, modern jump leads often come with built-in reverse polarity protection. It’s a small feature that acts as a vital safeguard against a very costly mistake.
How Do I Know If It Is the Battery or the Alternator?
This is the classic roadside puzzle. If you manage to jump-start the car and it purrs along just fine, but then it dies a few minutes after you disconnect the leads, the problem is almost certainly your alternator. The alternator’s job is to recharge the battery while the engine runs; if it’s failed, the battery will just drain itself flat again.
But what if the jump-start fails completely? Or all you hear is a single, heavy click when you turn the key? That’s a strong sign the battery itself is completely dead and can’t be revived. In either of these situations, you’re past the point of a simple DIY fix. When you’re stuck, getting on-demand professional roadside assistance is the smartest way to get an accurate diagnosis and the right solution.
When you’re stranded and need reliable, fast help without the yearly subscription fees, turn to the Crisfix App. Instantly connect with vetted local mechanics and recovery professionals for everything from a battery diagnosis to a tow, all with transparent, upfront pricing. Download the app and take control of your roadside emergencies today.